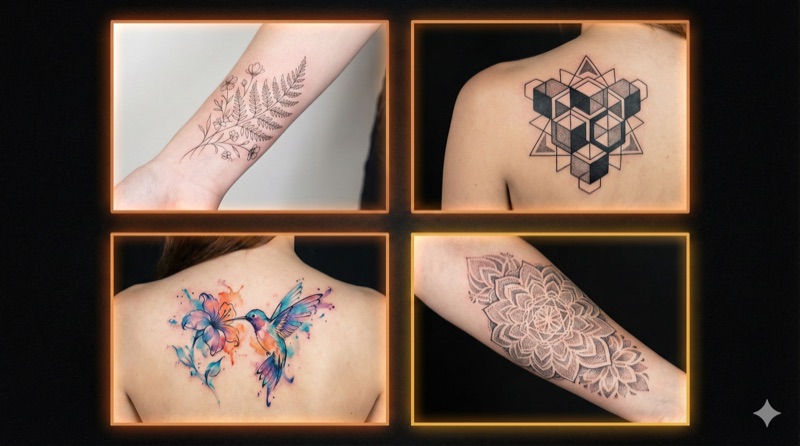
Roughly 1 in 4 people with tattoos experience some form of regret. The most common reasons? Poor placement, wrong size, or the result just not matching what they had in their head.
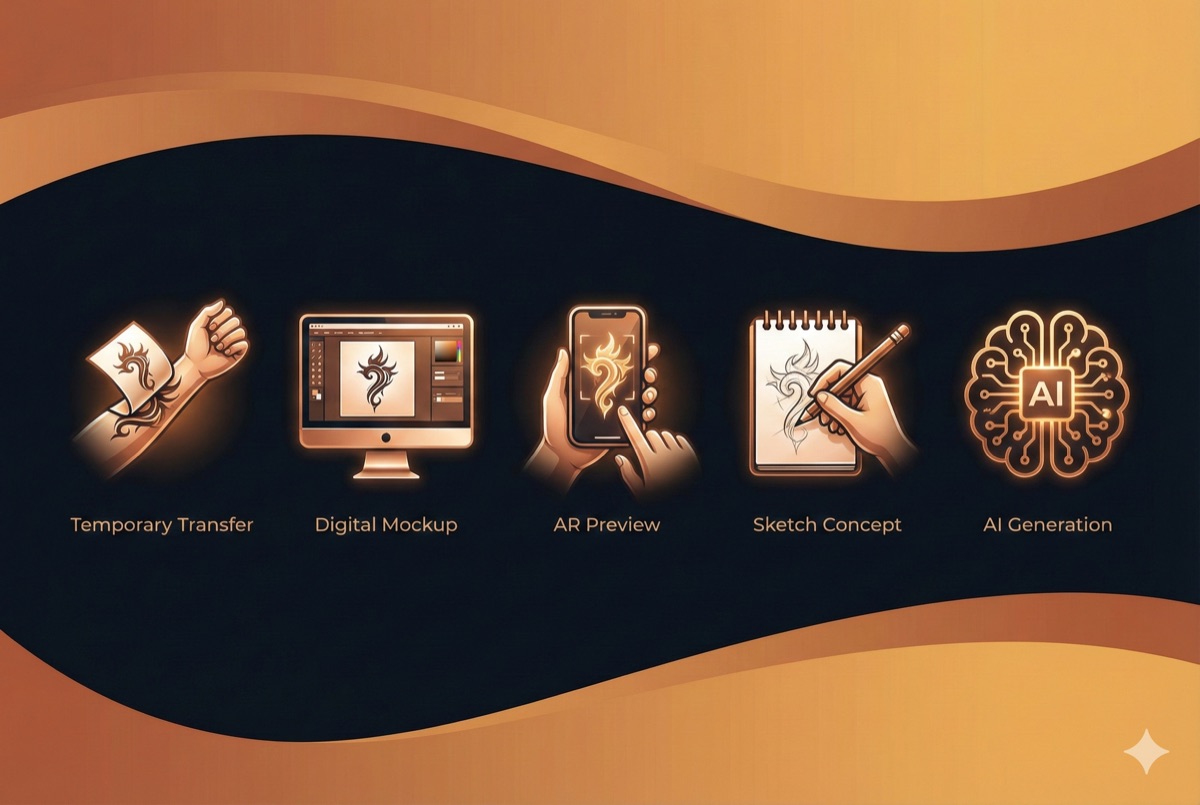
But you don't have to guess anymore. There are several ways to preview tattoo designs on your body before making a permanent decision. This guide compares five of them so you can figure out which approach works for you.
Quick Comparison
| Method | Cost | Time Required | Customization | Realism |
|---|---|---|---|---|
| Temporary tattoos / Henna | $5-50 | Hours to days | Limited | High |
| Photoshop / Photo editing | Free-$20/mo | 30min-2hrs | High | Medium |
| AR tattoo apps | Free-$10 | Minutes | Limited | Medium |
| Artist sketch | $50-200+ | Days to weeks | High | Medium |
| AI tattoo generators | Free-$15 | Minutes | Very High | Medium-High |
Method 1: Temporary Tattoos & Henna
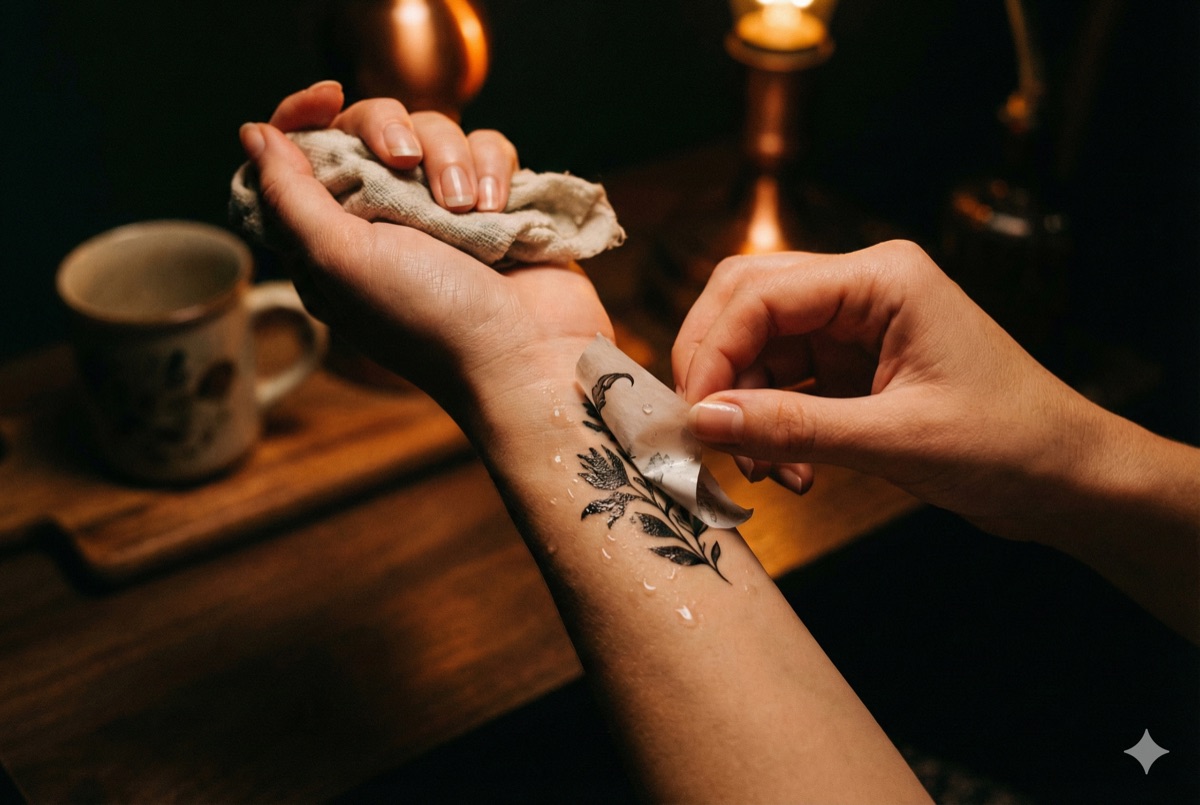
The oldest method for previewing tattoos: putting temporary ink on your skin.
How it works: Custom temporary tattoo services print your design on transfer paper. You apply it to your skin where it lasts 2-5 days. Henna artists can also create semi-permanent designs lasting 1-3 weeks.
Pros:
- Most realistic physical sensation, since you actually see and feel ink on skin
- Test exact placement throughout daily activities
- See how design interacts with body movement
- Good for showing family/friends before committing
Cons:
- Need a finished design before ordering
- Custom temporary tattoos take days to arrive
- Limited to one design per order, so testing multiple options gets expensive
- Henna only works in certain styles and colors
- Can't easily adjust size or placement once applied
- Some henna products cause allergic reactions
Best for: Final confirmation after you've already decided on a specific design and placement.
Method 2: Photoshop / Photo Editing
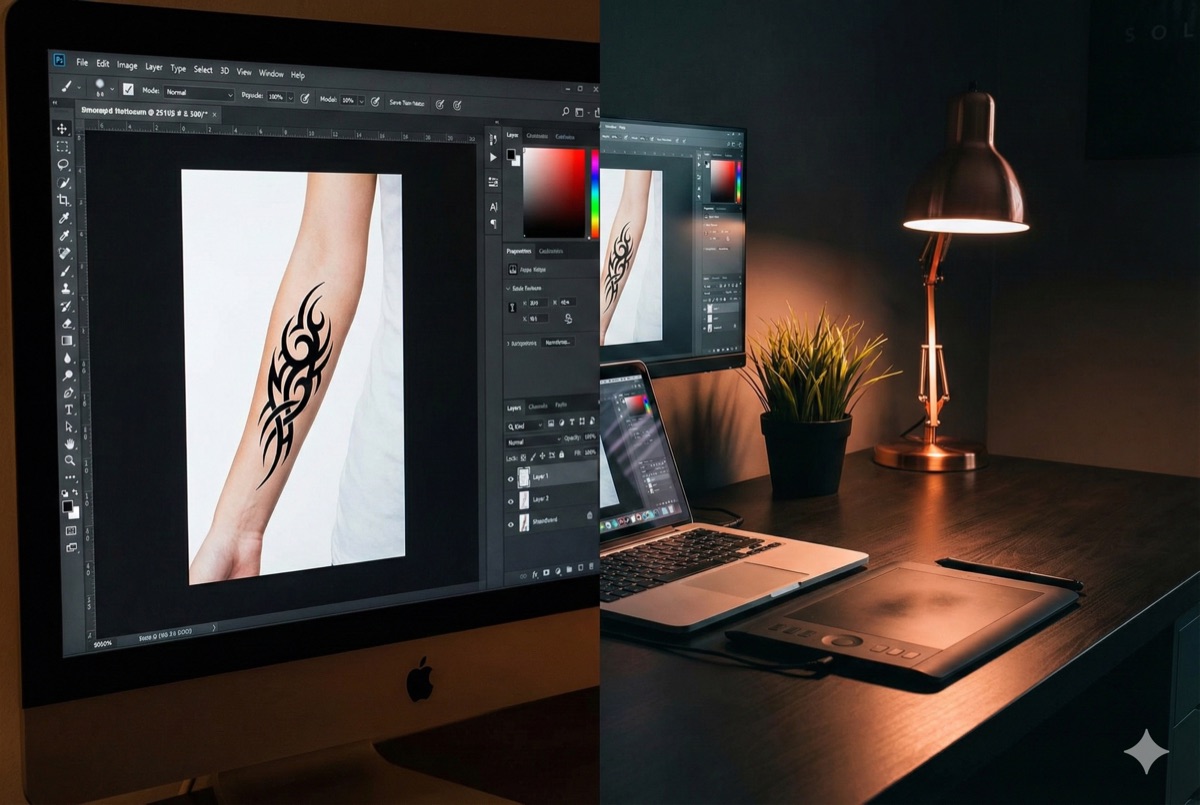
The DIY approach using image editing software.
How it works: Take a photo of the body area you want tattooed. Import a tattoo design and digitally overlay it, adjusting size, position, and perspective to match your body.
Pros:
- Complete control over placement and sizing
- Free if you use apps like GIMP or Photopea
- Can test unlimited designs in one session
- Edit and adjust instantly
Cons:
- Requires photo editing skills
- Time-consuming to get realistic results
- Difficult to match body curvature and skin texture
- Still images don't show how tattoos move with your body
- Need existing designs to work with
Best for: Digitally savvy people with existing designs who want precise placement control.
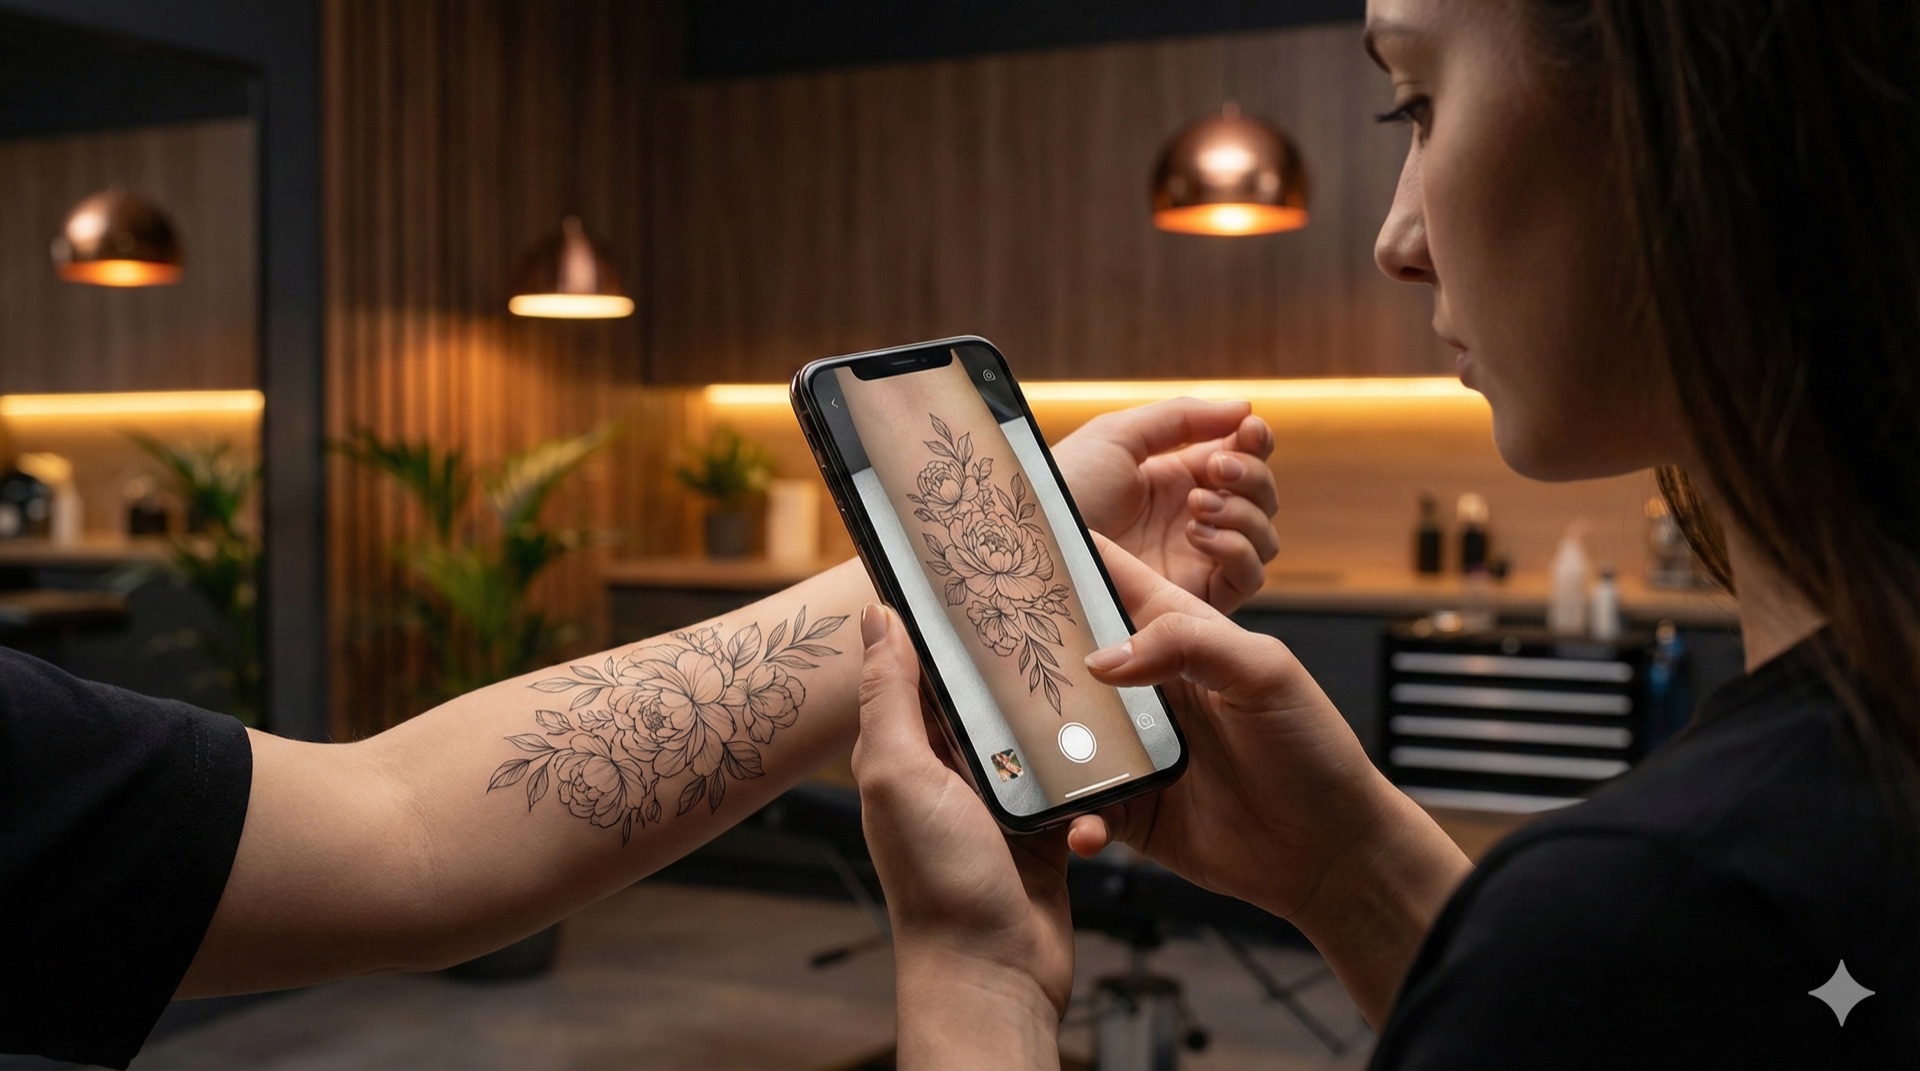
Method 3: AR Tattoo Preview Apps
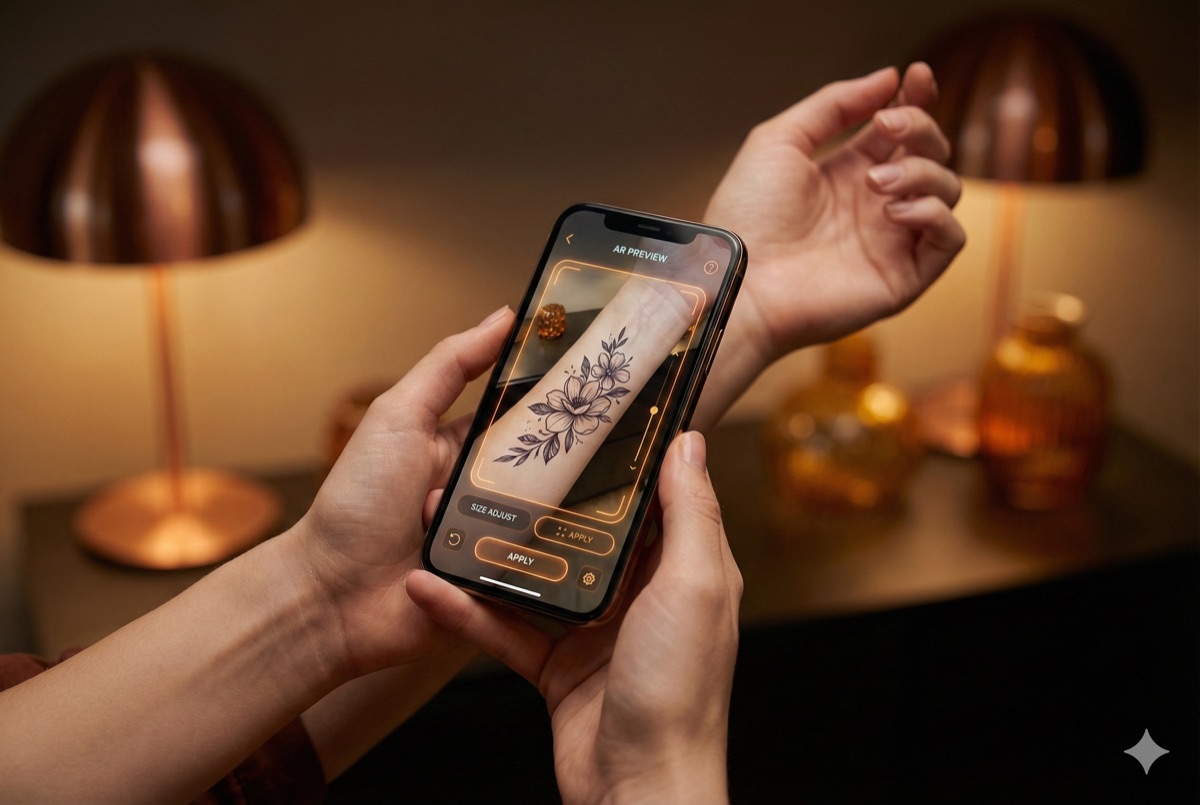
Augmented reality apps overlay designs onto your body through your phone camera.
How it works: Download an AR app, upload or select a design, and point your camera at your body. The app tracks your skin and displays the tattoo in real-time as you move.
Pros:
- Quick and easy. See results in seconds
- See tattoos from multiple angles
- Some apps account for body curvature
- Many free options available
Cons:
- Limited design libraries in most apps
- Need to already have a design file to upload
- AR tracking can be glitchy or inaccurate
- Quality varies significantly between apps
- Most don't help you create or modify designs
Best for: Quick previews when you already have a finished design ready to go.
Method 4: Ask Your Tattoo Artist

The traditional approach: commission a custom sketch from a professional.
How it works: Find a tattoo artist whose style you like, share your concept, and pay for a custom design. Many artists provide sketches before your appointment, sometimes offering stencil placement tests.
Pros:
- Professional artistic input
- Design tailored to your body specifically
- Artist can advise on what works technically
- Get a sense of working with that artist
- Design is tattoo-ready from the start
Cons:
- Costs $50-200+ just for the design (non-refundable)
- Takes days or weeks to receive
- Limited revisions, and requesting major changes strains the relationship
- Feels like commitment before you've fully decided
- Only see one artist's interpretation
- Awkward to take design to a different artist
Best for: When you've already chosen your artist and are committed to working with them.
Method 5: AI Tattoo Generators
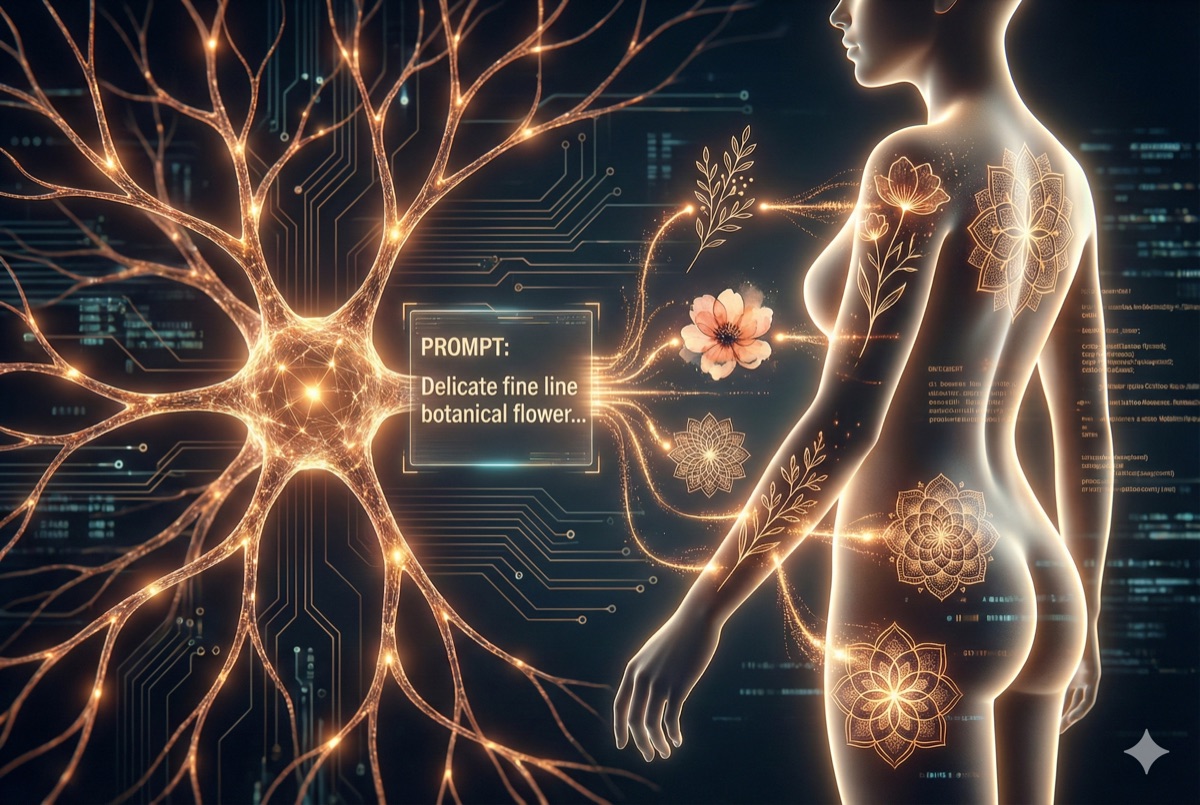
The newest method: AI creates custom designs from your descriptions.
How it works: Apps like Negink let you describe your tattoo idea in words. AI generates original designs matching your description, which you can then preview on your body using AR.
Pros:
- Generate unlimited unique designs from any idea
- Try different styles instantly (fine line, blackwork, traditional, etc.)
- Preview on your body in real-time
- Iterate quickly. Don't like it? Generate another
- No design skills required
- Free or low-cost to start
- Explore ideas without commitment
Cons:
- AI designs may need refinement by a human artist
- Generated designs are original but not one-of-a-kind
- Technology still improving, so some results are better than others
- Best results require clear descriptions
Best for: The exploration phase: figuring out what you want before committing to any specific design or artist.
The Best Approach: Combine Methods
If you want to be really thorough about it, combine multiple methods:
Phase 1: Explore with AI
Use an AI generator to rapidly explore ideas. Try your concept in multiple styles. Generate dozens of variations. This phase is about discovery: finding what resonates without any commitment. Cost: Free or minimal. Time: An afternoon.
Phase 2: Refine Your Favorites
Take your favorite AI-generated designs and preview them on your body with AR. Live with them for a few days. Show friends. Sleep on it. Narrow down to 2-3 finalists. Cost: Free. Time: A few days.
Phase 3: Consult an Artist
Bring your refined concepts to a tattoo artist. They can redraw AI designs in their style, make technical improvements, and ensure the tattoo will age well. Good artists appreciate clients who've done homework. Cost: Consultation fee or booking deposit. Time: 1-2 weeks.
Phase 4: Final Confirmation (Optional)
If you're still nervous, order a custom temporary tattoo of the final design. Wear it for a week. If you still love it after seeing it daily, you're ready.
This process respects both the tattoo artist's expertise and your need for certainty. You arrive at the shop informed and confident, exactly the kind of client artists love working with.
Start Exploring
Ready to see your tattoo ideas come to life? Download Negink to generate AI designs from any concept and preview them on your body instantly. It's free to start, and you might discover your perfect tattoo in minutes.
A tattoo is permanent, but your decision-making process doesn't have to be.