You're trying to email a PDF and it bounces back because the file is too large. Or you need to upload a document to a form with a 10MB limit, and your 47MB scan is way over. Or your iPhone storage is filling up with PDFs you've downloaded over the months.
PDF compression on a desktop is easy. On an iPhone, it's surprisingly annoying. Apple doesn't include a built-in PDF compression tool, and most App Store options are either ad-filled or require subscriptions for basic functionality.
Mino compresses PDFs by up to 90% directly on your iPhone. Select a file, choose a quality preset, and you're done. Everything happens on your device, nothing gets uploaded anywhere, and it's completely free.
Why PDFs Get So Large
Before jumping into compression, it helps to understand why your PDFs are bloated in the first place.
Scanned documents are the biggest offenders. When you scan a paper document with your iPhone camera, the resulting PDF stores full-resolution images of each page. A 10-page scan at high resolution can easily hit 50MB or more. Each page is essentially a photograph, not text.
Embedded images add up fast. PDFs with charts, photos, or graphics embed those images at their original resolution. A presentation exported to PDF might have 30 slides each containing a 3MB background image. That's 90MB in images alone.
Fonts and metadata contribute too. PDFs can embed entire font files (not just the characters used) and carry metadata from the authoring application. A PDF exported from Adobe InDesign or Microsoft Word often includes font subsets and editing metadata that inflate the file.
Multiple exports compound the problem. If someone exports a Word doc to PDF, then that PDF gets printed to PDF again (common when combining documents), the file grows with each generation. Every round of re-encoding adds overhead.
Method 1: Compress with Mino (Best Option)
Mino is a dedicated PDF compressor that does one thing well. Here's the full process.
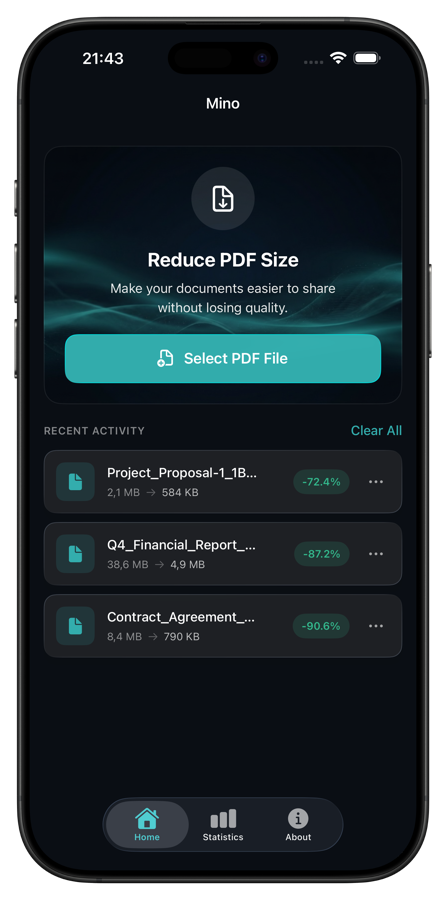
Step 1: Select Your PDF
Open Mino and tap "Select PDF File." The app opens the standard iOS file picker, so you can grab PDFs from Files, iCloud Drive, Downloads, or any connected cloud storage. You'll see the original file size before you do anything.
Step 2: Choose Your Compression Level
Mino offers three quality presets:
- Light compression: Minimal size reduction, maximum quality preservation. Good for documents with important images where visual fidelity matters.
- Medium compression: Balanced reduction. Works well for most documents. Text stays sharp, images look good at normal viewing sizes.
- Strong compression: Maximum size reduction. Best for text-heavy documents or files where image quality isn't critical.
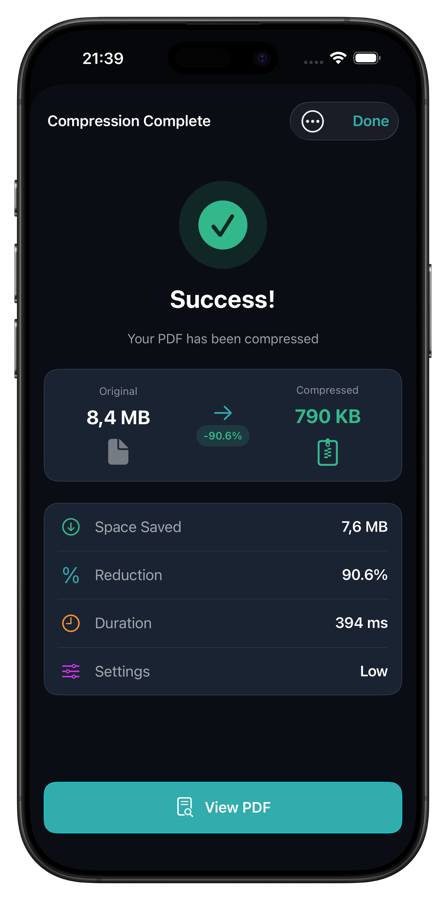
Step 3: Compress and Review
Tap the compress button. Processing takes a few seconds, depending on file size. When it finishes, Mino shows you the original size, compressed size, and exact percentage reduction. You can preview the result with the built-in PDF viewer to verify the quality before saving.
Step 4: Save or Share
Save the compressed file to your Files app, share it via email, AirDrop, or any other sharing method. The original file stays untouched.
Why Mino works well for this:
- All processing happens locally on your iPhone. Your documents never leave your device.
- It's completely free with no ads, no subscriptions, and no file size limits.
- The three presets cover 95% of use cases without needing to understand compression settings.
- The built-in viewer lets you check quality before committing.
- The Share extension means you can compress files from other apps without opening Mino first.
Method 2: The Shortcuts Workaround
If you don't want to install an app, Apple's Shortcuts app can do basic PDF compression with a custom workflow. Here's how:
- Open the Shortcuts app
- Create a new shortcut
- Add the action "Make PDF from Input" with "Reduce File Size" enabled
- Add "Save File" as the next action
- Run the shortcut and select your PDF
The limitations are significant though:
- You get no control over compression quality. It's one setting and you take what you get.
- There's no preview of the compressed result.
- Compression ratios are usually modest, around 10-30% for most files.
- The workflow needs to be built manually. There's no built-in shortcut for this.
- Results are inconsistent. Some PDFs barely shrink while others lose too much quality.
For a quick one-off compression on a small file, this works in a pinch. For anything where you need reliable results or want to verify quality, it falls short.
Method 3: Online Compression Tools
Services like iLovePDF and Smallpdf offer web-based PDF compression that works from Safari on your iPhone.
- Visit the site
- Upload your PDF
- Wait for server-side compression
- Download the compressed file
Why I don't recommend this approach:
- Your document gets uploaded to someone else's server. For personal documents, tax returns, contracts, or medical records, this is a real privacy concern.
- Free tiers limit the number of files or file sizes per day.
- Upload and download times make the process slow on mobile connections.
- Some services add watermarks or require accounts.
- You're dependent on having an internet connection.
For a non-sensitive file where privacy doesn't matter, online tools work fine. But for anything personal or professional, local processing is the safer choice.
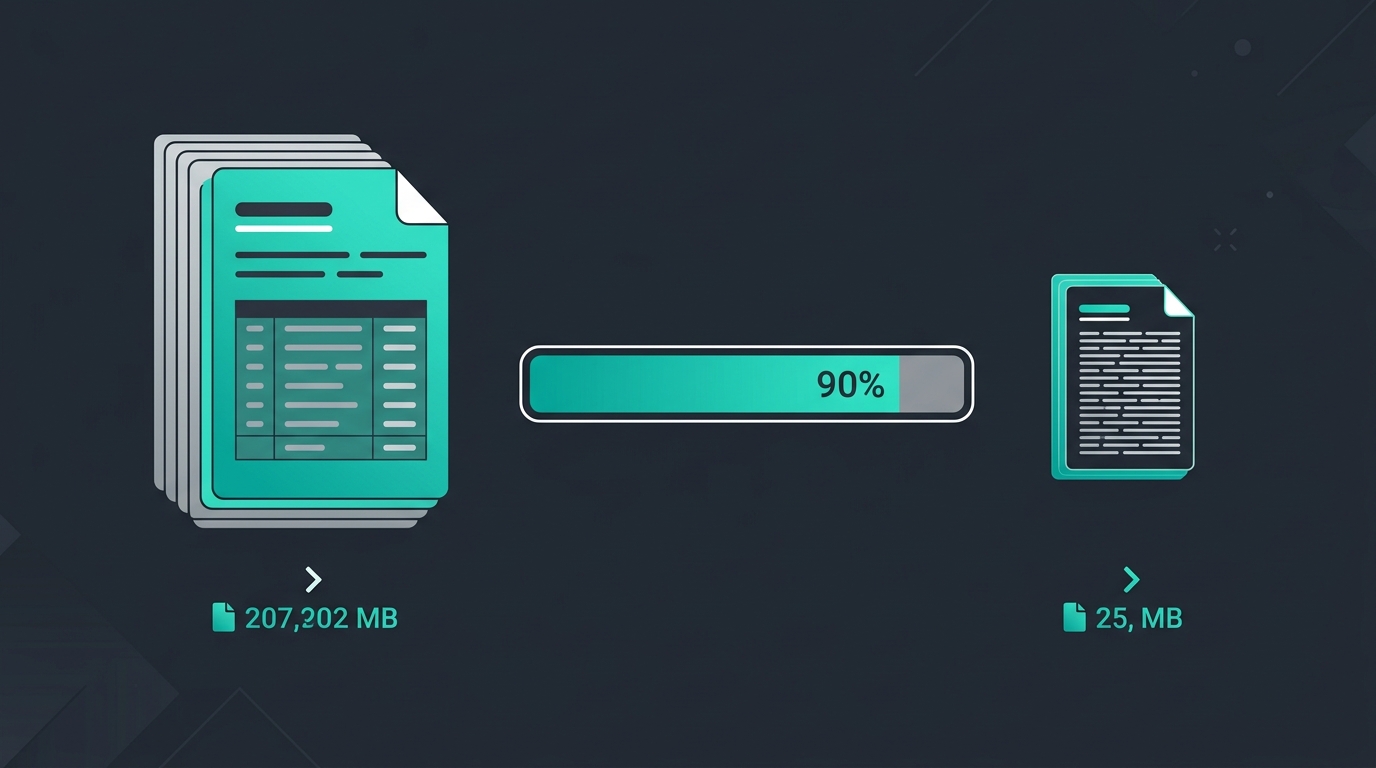
How Much Compression Can You Expect?
Results vary dramatically based on the content of your PDF.
Scanned documents: These compress the most because they're essentially image containers. Expect 60-90% reduction with strong compression. A 40MB scan can drop to 4-8MB.
Image-heavy presentations: PDFs with lots of embedded photos and graphics typically compress by 40-70%. The images get resampled to lower resolutions while text and vector elements stay sharp.
Text-heavy documents: These are already fairly efficient. Expect 10-30% reduction. Text data doesn't compress as dramatically as images.
Already-compressed PDFs: If a PDF has already been optimized (common with files from professional publishing tools), you might only see 5-15% reduction. You can't compress what's already compressed.
The best way to know is to just try it. Mino shows you the exact before-and-after sizes so you can decide whether the compression is worth it before saving.
When Compression Changes Quality (And When It Doesn't)
The fear with PDF compression is that your document will look terrible afterward. Here's the reality for each content type.
Text is virtually unaffected. PDF text is stored as vector data (font outlines and coordinates), not pixels. Compression doesn't touch this. Your text will look identical at any compression level.
Vector graphics survive too. Logos, charts, and diagrams built with vector paths compress without quality loss. The math describing the shapes stays the same.
Raster images are where trade-offs happen. Photos and scanned pages get resampled to lower resolutions and recompressed. At light and medium compression, the difference is invisible at normal viewing distances. At strong compression, you might notice softness if you zoom in past 200% on photos. For documents that people read rather than pixel-peep, medium compression is the sweet spot.
The practical test: Compress your file at medium, then open it in the viewer and scroll through. If it looks fine on your phone screen, it'll look fine everywhere else too. Phone displays are high-resolution enough that visible artifacts would stand out immediately.
Common PDF Size Limits You'll Hit
Here's why you're probably reading this article:
| Service | Size Limit |
|---|---|
| Gmail attachment | 25MB |
| Outlook attachment | 20MB |
| WhatsApp document | 100MB |
| Most web upload forms | 5-25MB |
| iMessage | 100MB |
| Government/bank portals | Often 2-10MB |
If your PDF is over the limit, medium compression in Mino will usually get it under. For strict limits like 5MB government forms, use strong compression.
Tips for Keeping PDFs Small in the First Place
Prevention beats compression. A few habits keep your PDFs lean from the start.
Scan at reasonable resolutions. Your iPhone camera captures at 12-48 megapixels. For document scanning, 200-300 DPI is plenty. Apple's document scanner in Notes uses sensible defaults, but third-party scanner apps sometimes default to maximum resolution.
Export from the source when possible. A PDF exported from Google Docs or Pages is far smaller than a printed-to-PDF version of the same document. Always export directly rather than printing to PDF if you have access to the original file.
Compress images before embedding. If you're creating a PDF with photos, resize and compress the images first. A 12MP photo in a document is overkill. 1-2MP per image is plenty for most documents.
Flatten form fields. If a PDF has interactive form fields you've already filled out, flattening it (printing to PDF) can reduce the file size by removing the form field data structures.
Stop Fighting File Size Limits
PDF compression on iPhone is one of those things that should be built in but isn't. Until Apple adds native compression tools, a dedicated app is the practical solution.
Mino handles it cleanly. Pick a file, choose a preset, check the result, save or share. No uploads, no subscriptions, no limits. And at a 90% reduction rate on scanned documents, it usually gets your files well under whatever size limit you're dealing with.