Choosing a tattoo style can feel overwhelming with so many options available. Whether you're planning your first piece or adding to your collection, understanding different tattoo styles helps you communicate better with artists and end up with ink you'll love for life.
This guide breaks down the 10 most popular tattoo styles, their origins, and who they're best suited for.
Quick Comparison
| Style | Best For | Typical Placement | Pain Level |
|---|---|---|---|
| Fine Line | Delicate, subtle designs | Wrist, ankle, collarbone | Low-Medium |
| Blackwork | Bold statements | Back, chest, sleeves | Medium-High |
| Minimalist | First tattoos, discrete ink | Finger, behind ear, ankle | Low |
| Traditional | Timeless, bold artwork | Arms, legs, chest | Medium |
| Japanese | Large storytelling pieces | Back, sleeves, legs | Medium-High |
| Watercolor | Artistic, colorful designs | Shoulder, thigh, ribs | Medium |
| Geometric | Modern, precise patterns | Forearm, back, chest | Medium |
| Neo-Traditional | Detailed, colorful art | Arms, legs, back | Medium |
| Dotwork | Intricate, meditative patterns | Shoulder, back, sleeves | Medium-High |
| Realism | Portraits, lifelike images | Upper arm, back, thigh | Medium-High |
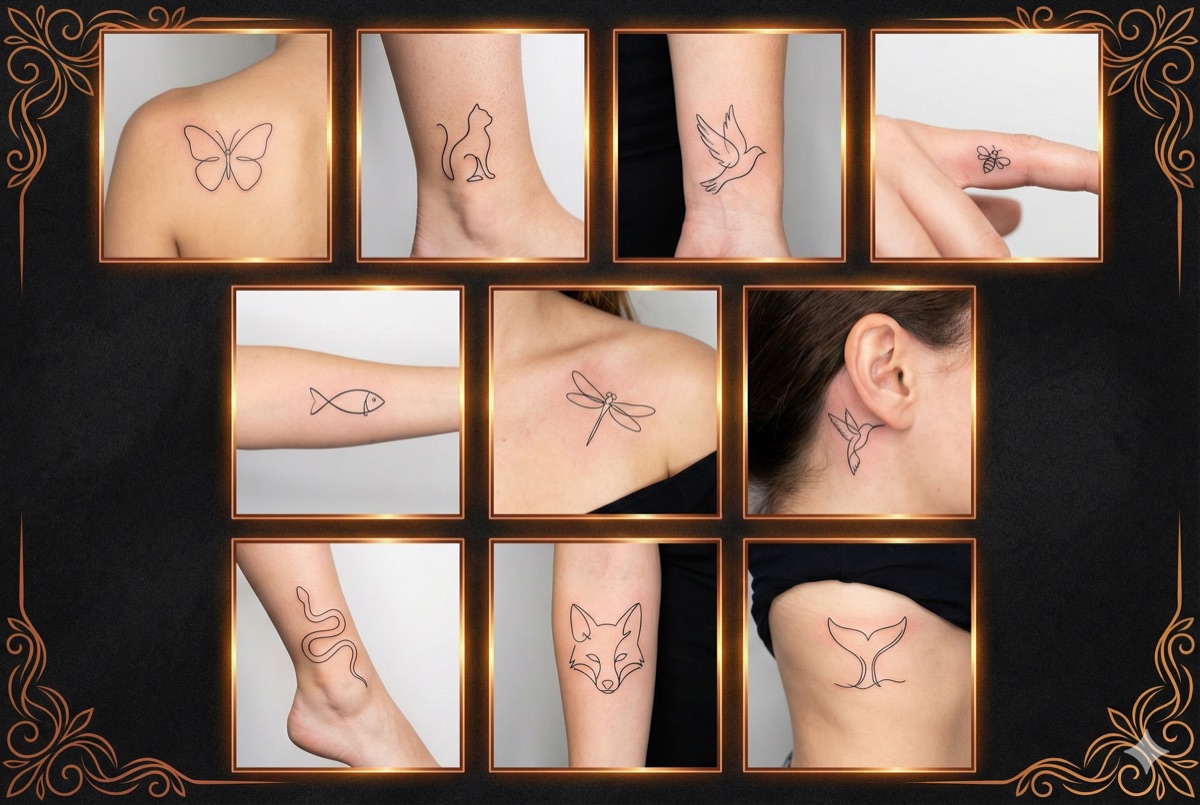
Fine Line
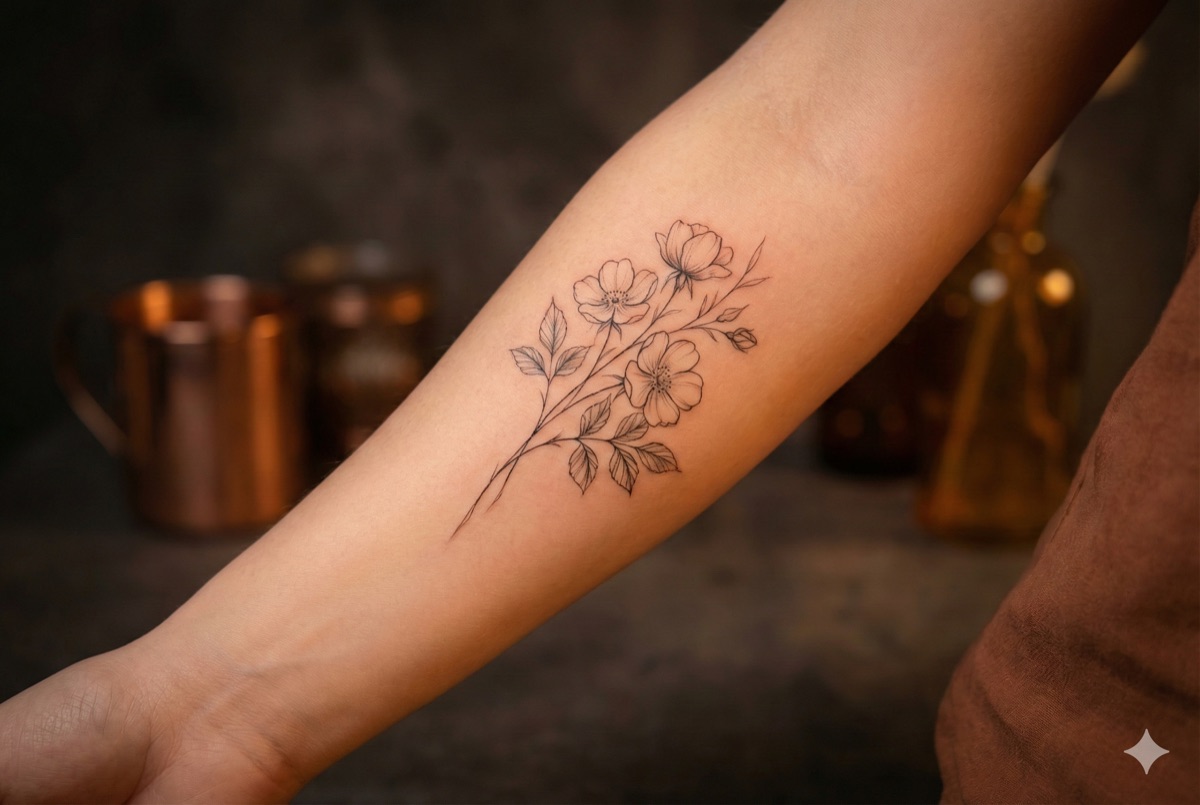
Fine line tattoos emerged in the 1970s Los Angeles tattoo scene, originally called "single needle" tattoos. Artists use a single needle (or tight needle groupings) to create delicate, precise lines that look almost like pen drawings on skin.
Visual characteristics: Thin, elegant lines with minimal shading. Often features botanical elements, small animals, or delicate script. The style emphasizes precision over boldness.
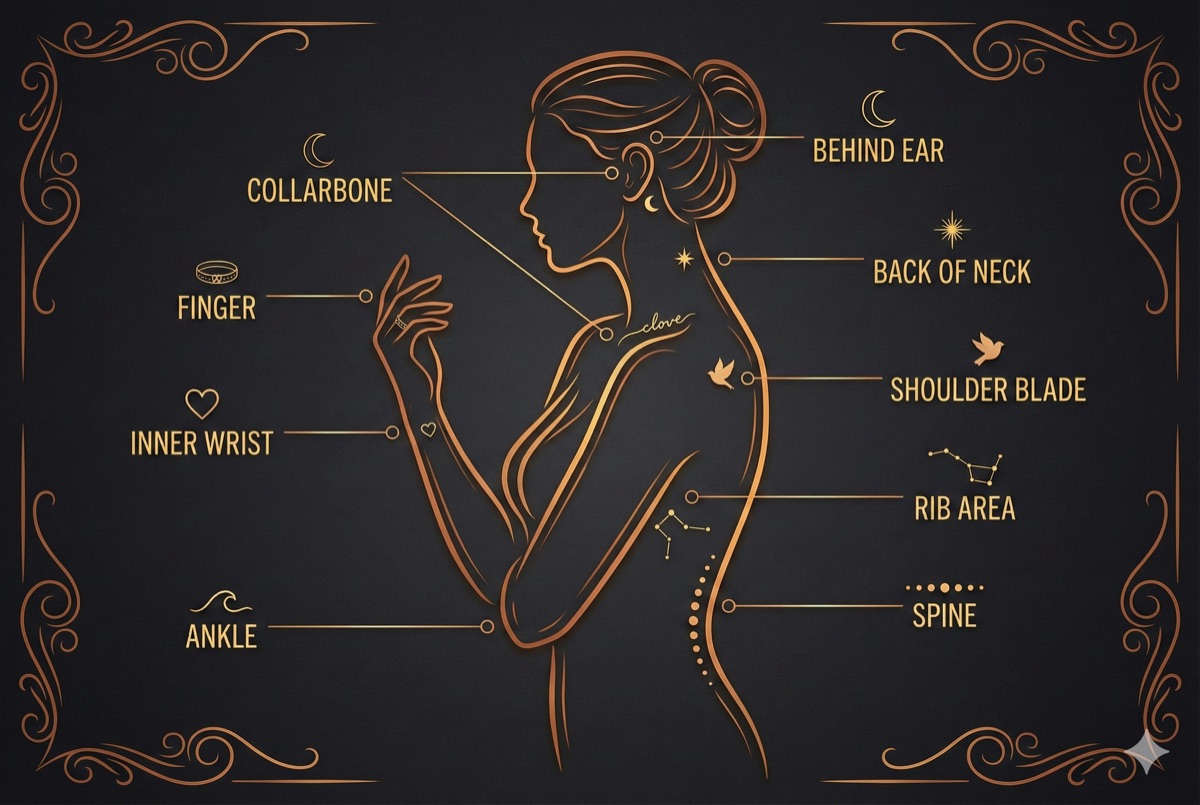
Best placements: Works beautifully on smaller areas like the wrist, ankle, collarbone, or behind the ear. The delicate nature suits spots where skin remains relatively taut.
Ideal for: Those wanting subtle, elegant tattoos that can be easily concealed. Perfect for first-timers or professionals needing discrete ink. Fine line ages differently than bold styles—lines may soften over time, which some find adds character.
Blackwork
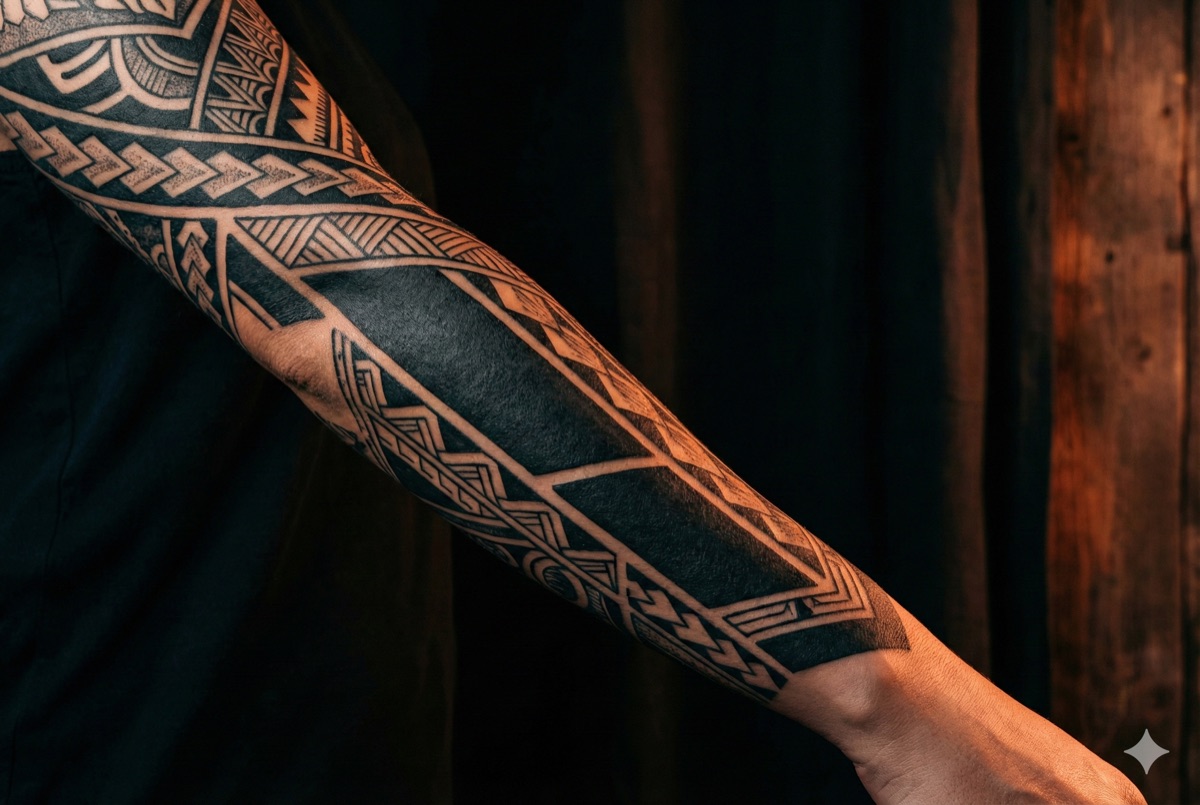
Blackwork traces its roots to ancient tribal tattooing traditions from Polynesia, Africa, and Borneo. Modern blackwork emerged in the 1990s as artists began exploring solid black ink as a primary medium, creating everything from geometric patterns to illustrative designs.
Visual characteristics: Exclusively uses black ink, ranging from solid black fills to intricate patterns. Includes styles like tribal, ornamental, and blackout (large areas of solid black). High contrast and bold visual impact.
Best placements: Shines on larger canvas areas—full sleeves, back pieces, chest panels, or leg sleeves. The bold nature means it works well on areas that see sun exposure, as black ink typically ages well.
Ideal for: Those wanting high-impact, statement pieces. Great for people who appreciate graphic design aesthetics or want tattoos visible from a distance. Also popular for covering old tattoos.
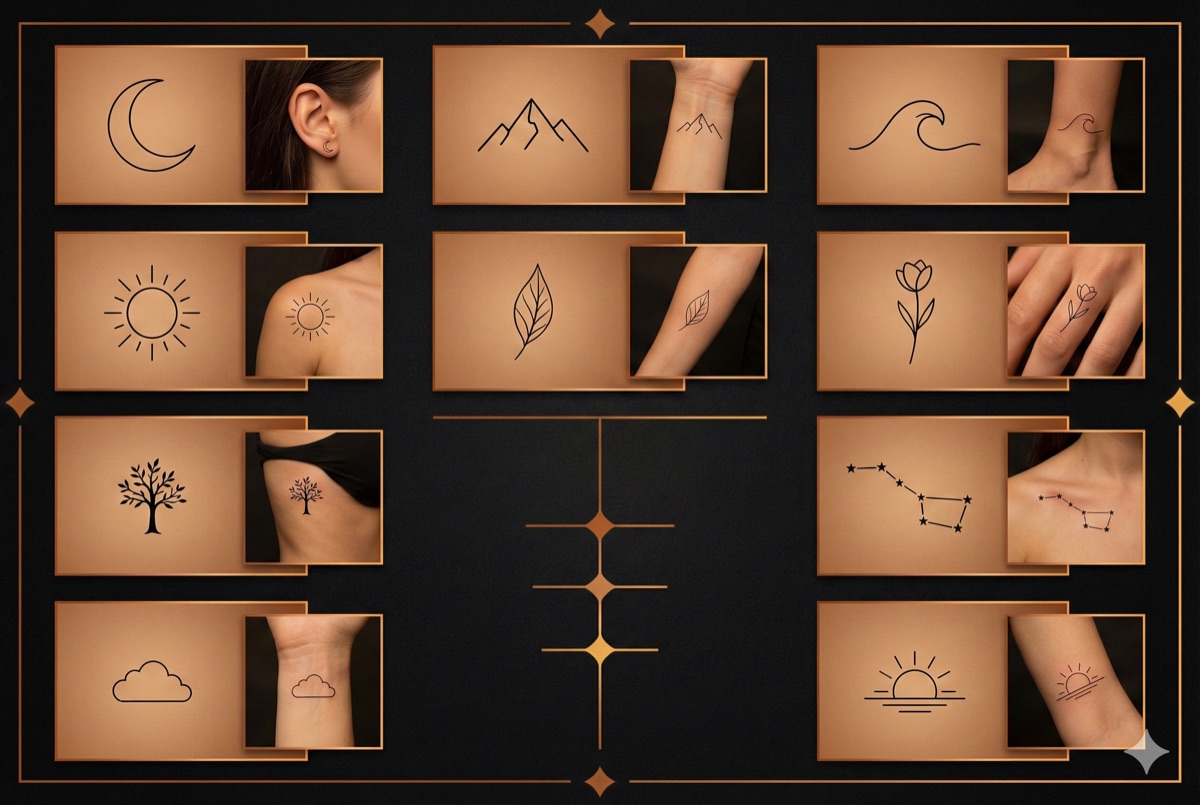
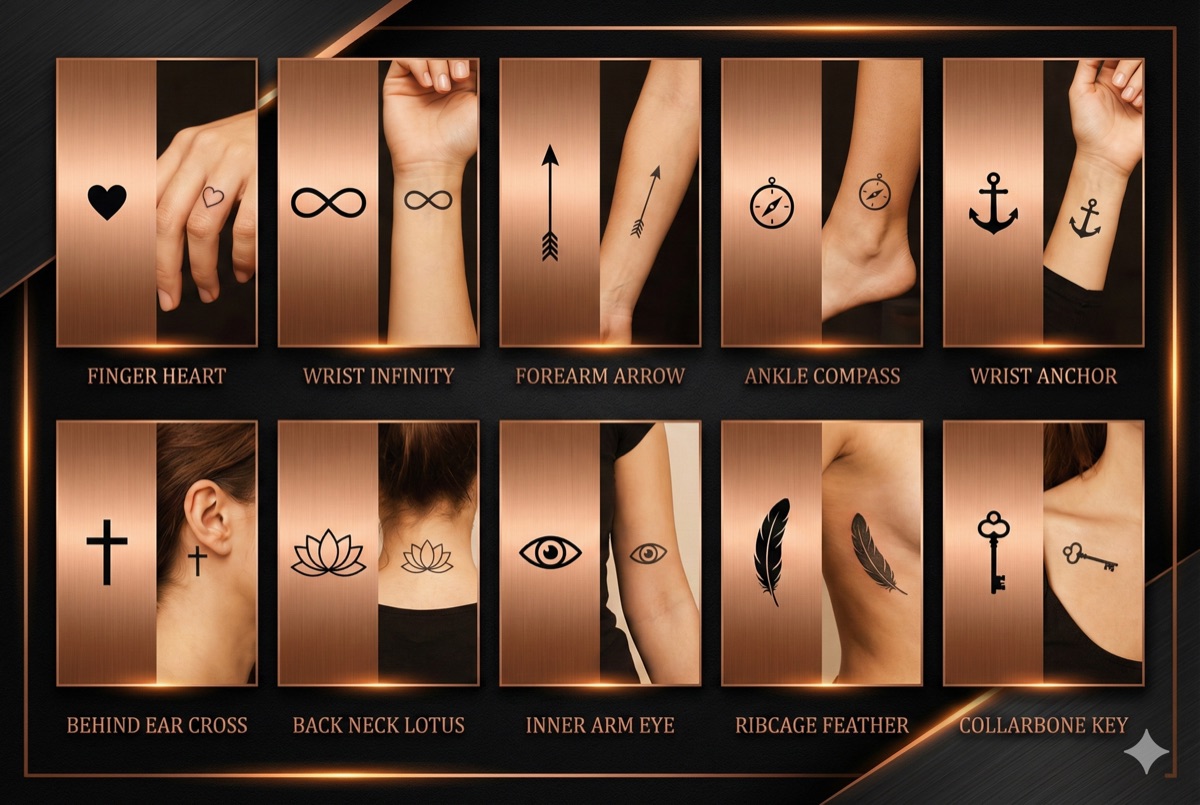
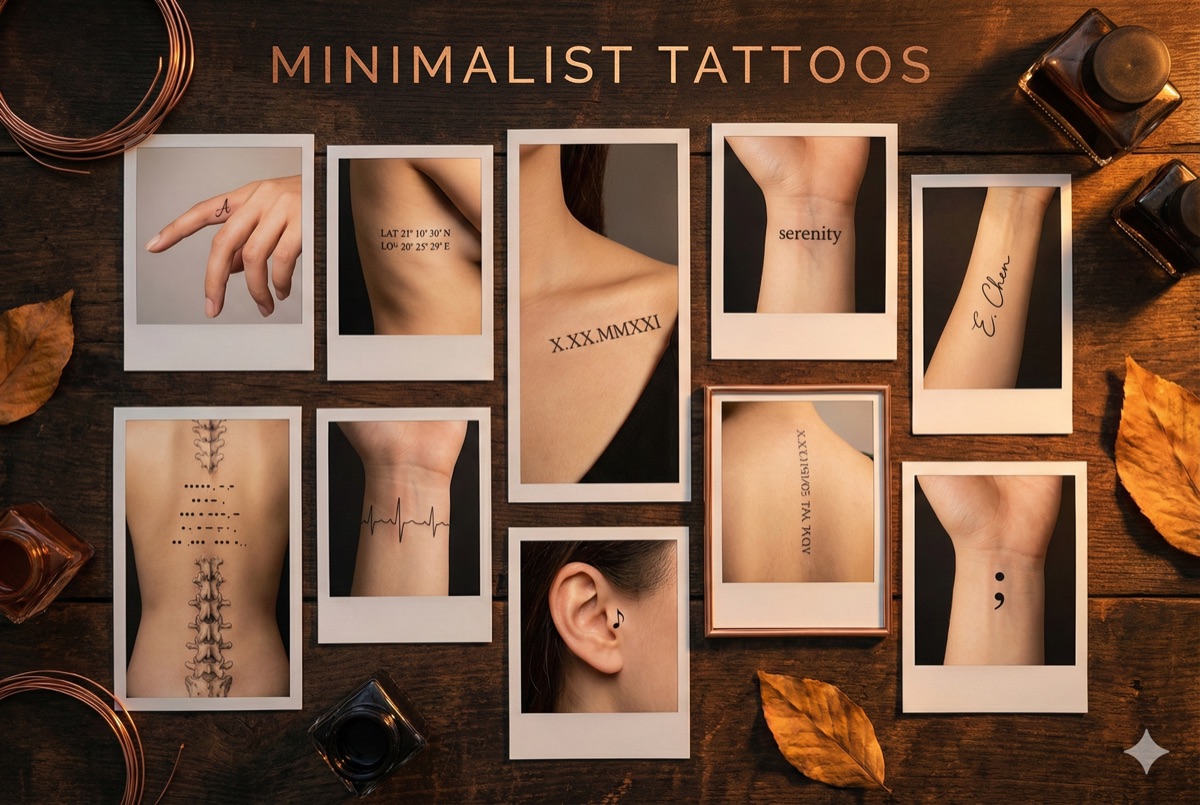
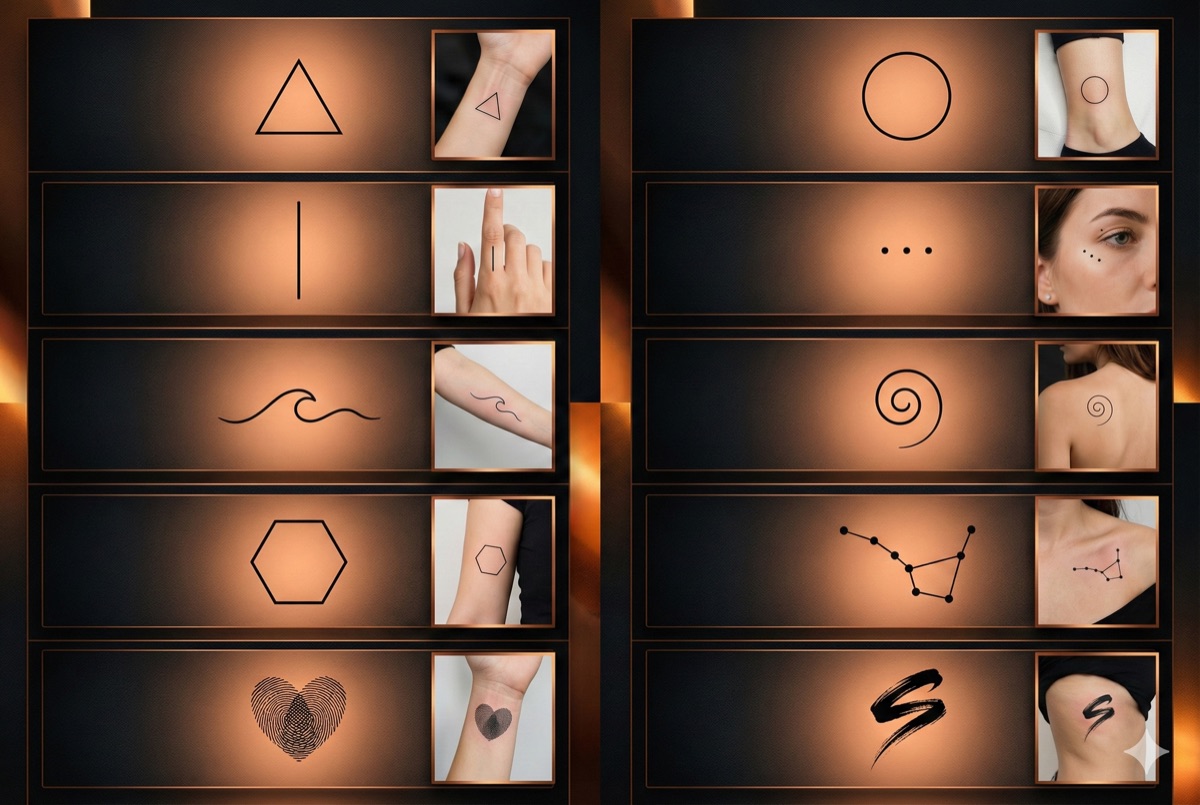
Minimalist
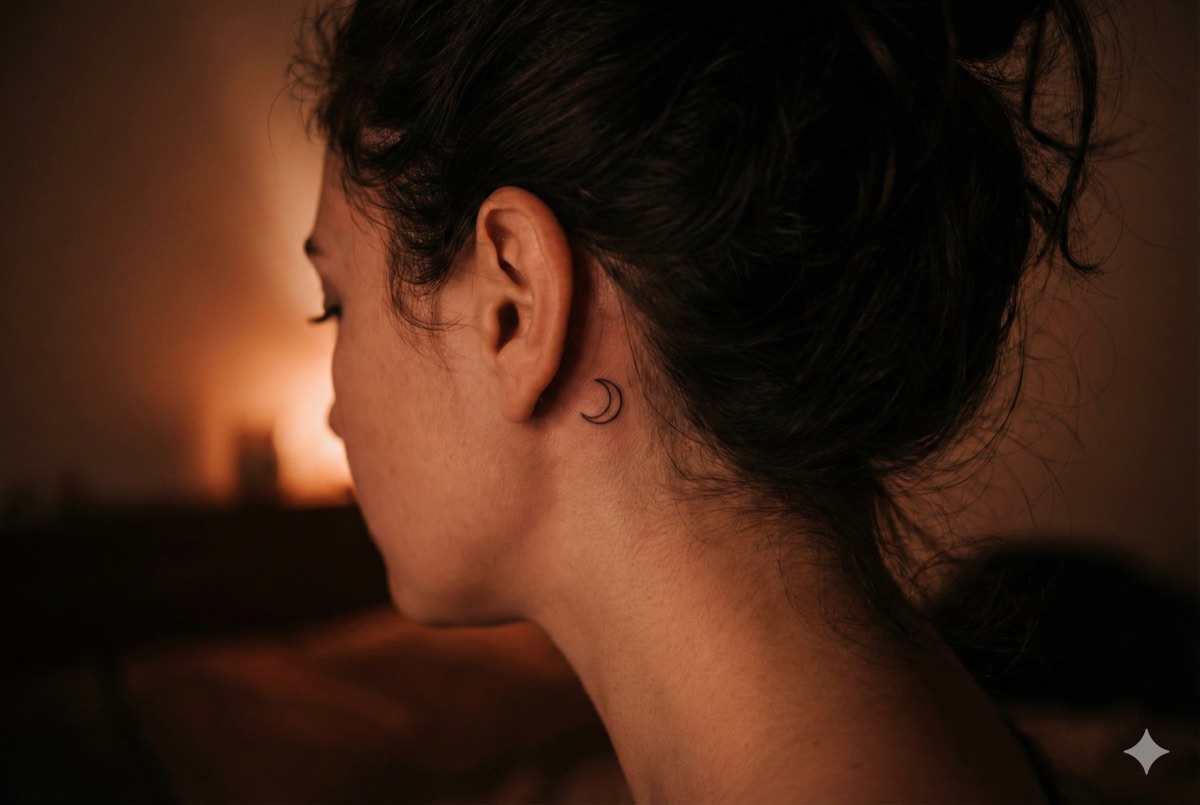
Minimalist tattooing grew from the broader minimalist art movement and gained massive popularity in the 2010s with social media. It's about distilling ideas to their simplest form—maximum meaning with minimum elements.
Visual characteristics: Simple shapes, thin lines, small scale. Often single-element designs: a tiny heart, a word, a simple symbol. Negative space is as important as the ink itself.
Best placements: Thrives in small spots—finger sides, behind the ear, inner wrist, ankle bone. These tattoos are designed to be discovered rather than displayed.
Ideal for: First-time tattoo getters nervous about commitment. People wanting meaningful symbols without bold statements. Those in professional environments requiring discrete tattoos. Minimalist doesn't mean meaningless—small designs often carry deep personal significance.
Traditional (American)
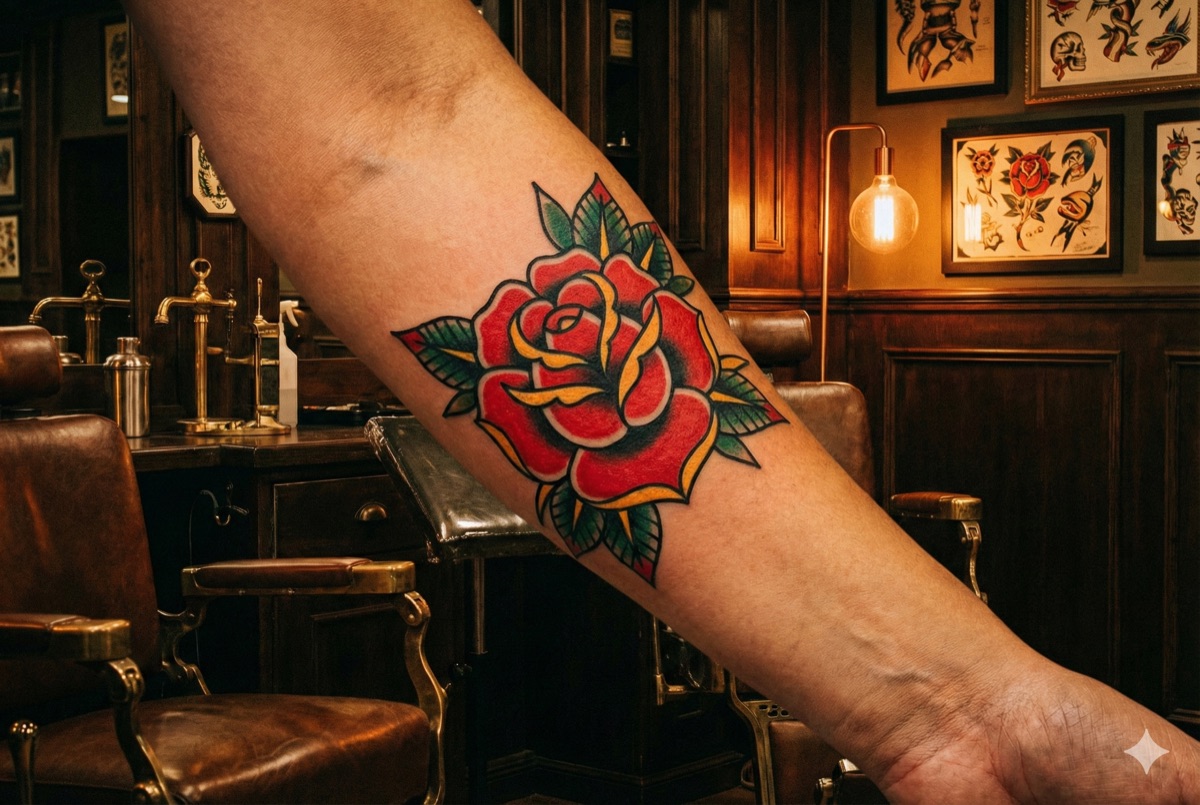
American Traditional style originated with sailors in the early 1900s, popularized by legends like Sailor Jerry and Bert Grimm. The style developed practical constraints into an art form—bold lines and limited colors that held up during long sea voyages.
Visual characteristics: Thick black outlines, limited color palette (red, green, yellow, blue), solid color fills with minimal shading. Classic motifs include anchors, roses, eagles, pin-up girls, hearts, and daggers. Highly stylized rather than realistic.
Best placements: Arms and legs are classic spots. The bold lines work well on areas with movement. Traditional pieces age exceptionally well due to their solid construction.
Ideal for: Those appreciating tattoo history and timeless designs. People wanting tattoos that look like tattoos—unapologetically bold. Great for building cohesive sleeve collections over time.
Japanese (Irezumi)
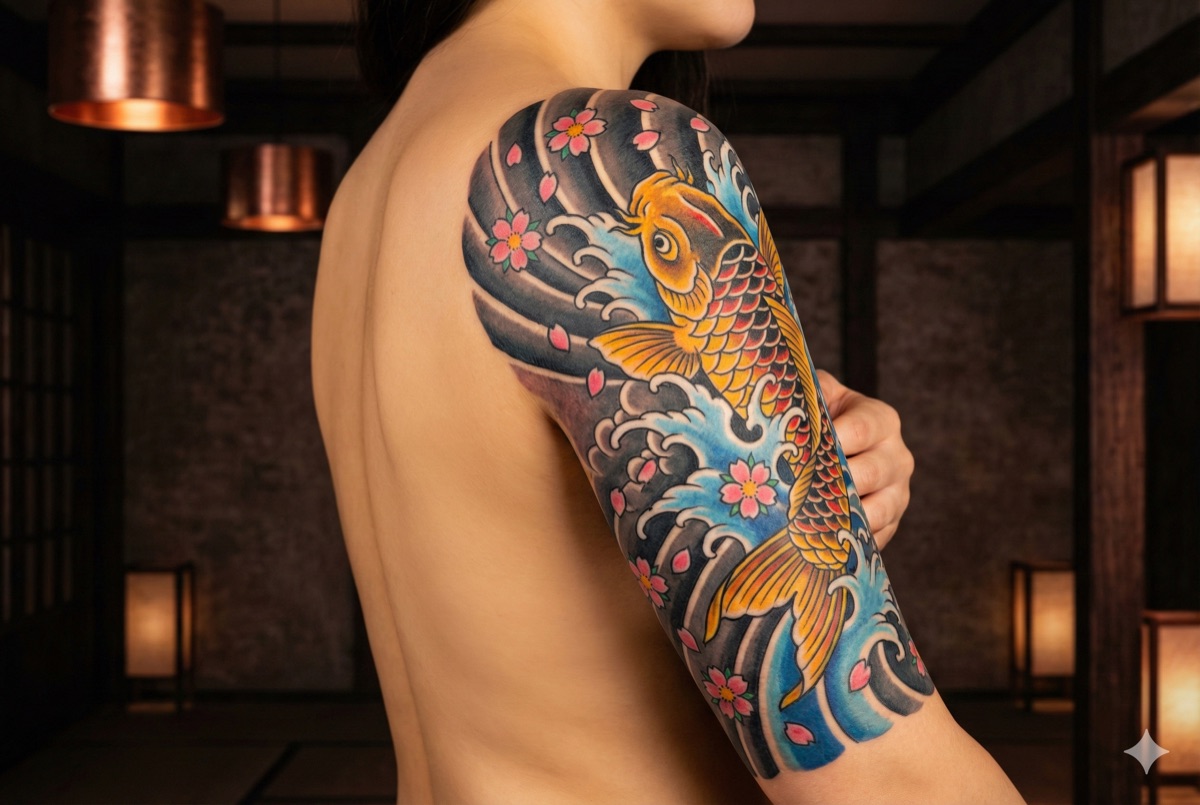
Japanese tattooing dates back thousands of years, evolving through periods as spiritual protection, criminal punishment, and finally the art form we know today. Traditional Irezumi follows strict rules about imagery, placement, and composition.
Visual characteristics: Large-scale designs featuring dragons, koi fish, cherry blossoms, waves, and mythological figures. Backgrounds of wind bars, clouds, and water connect elements. Rich colors with careful attention to how pieces flow with body movement.
Best placements: Traditionally designed for full body suits, sleeves, or back pieces. Japanese work respects body anatomy—designs curve with muscles and joints. Smaller Japanese-inspired pieces exist but may lose the style's essence.
Ideal for: Those committed to larger projects and appreciating cultural artistry. People wanting tattoos that tell stories and evolve over multiple sessions. Requires finding an artist trained in Japanese conventions.
Watercolor

Watercolor tattooing emerged in the 2010s as artists experimented with techniques mimicking watercolor paintings. It challenged traditional tattoo rules by eliminating or minimizing black outlines.
Visual characteristics: Soft color gradients, splashes, drips, and bleeds mimicking watercolor on paper. Often features bright, vivid colors. May include subtle line work as an anchor or be entirely "outline-free."
Best placements: Works well on flatter areas where the soft gradients can spread—shoulder blades, thighs, upper back, ribs. Avoid high-friction areas where colors might fade faster.
Ideal for: Those wanting artistic, painterly tattoos that stand apart from traditional styles. People who love color and don't mind potentially needing touch-ups. Important note: watercolor tattoos may fade faster than heavily outlined work—choose an experienced artist.
Geometric
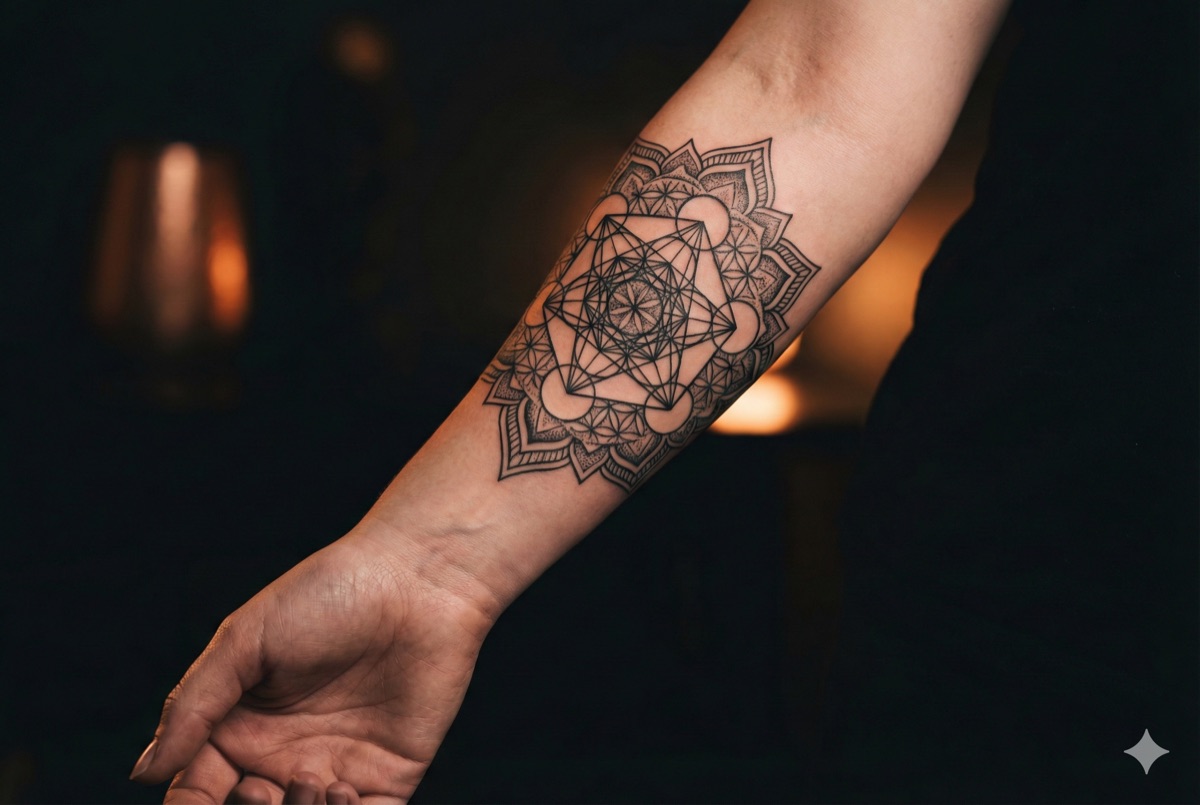
Geometric tattooing draws from sacred geometry, mathematical patterns, and modern design. While geometric elements appear throughout tattoo history, the contemporary style emerged in the 2000s as artists explored precision-based work.
Visual characteristics: Clean lines, perfect shapes, mathematical patterns. Includes mandalas, sacred geometry (flower of life, metatron's cube), tessellations, and abstract compositions. Often purely black but can incorporate color.
Best placements: Forearms are popular for showcasing linear designs. Back and chest allow for larger mandala work. The precise nature means placement on relatively flat, stable skin areas works best.
Ideal for: Those drawn to patterns, symmetry, and precision. Math and science enthusiasts. People wanting modern-looking tattoos with potential spiritual or philosophical meaning. Geometric work demands technically skilled artists—small errors in symmetry are immediately visible.
Neo-Traditional
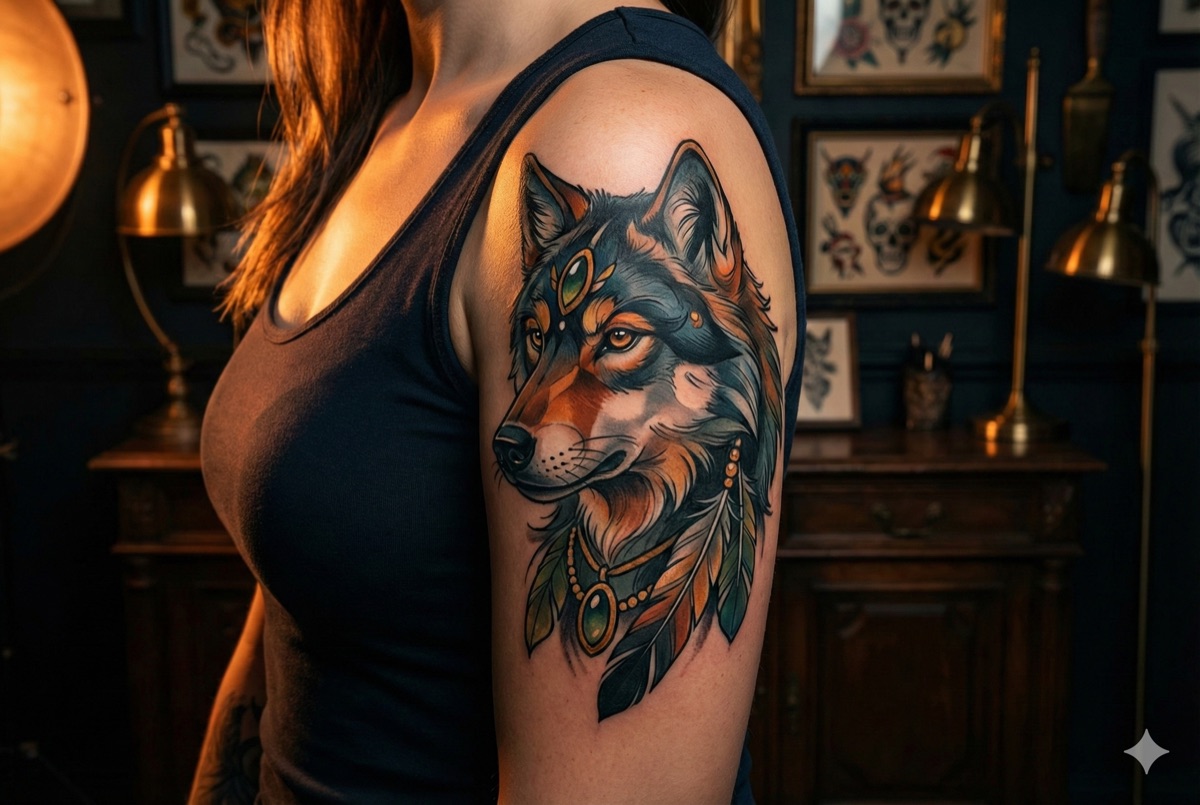
Neo-Traditional evolved in the 1980s and 90s as artists trained in American Traditional began pushing boundaries. It respects traditional foundations while embracing modern techniques and subject matter.
Visual characteristics: Bold outlines like traditional, but with expanded color palettes, more complex shading, and detailed imagery. Subject matter ranges from traditional motifs to portraits, animals, and pop culture. Think traditional's bold confidence with painterly detail.
Best placements: Works across most body areas—arms, legs, back, chest. The bold outlines ensure visibility while detailed interiors reward close viewing.
Ideal for: Those loving traditional aesthetics but wanting more detail and color options. People wanting versatile tattoos that can incorporate personal imagery (pets, portraits) within a classic framework. Great for collectors building varied but cohesive collections.
Dotwork
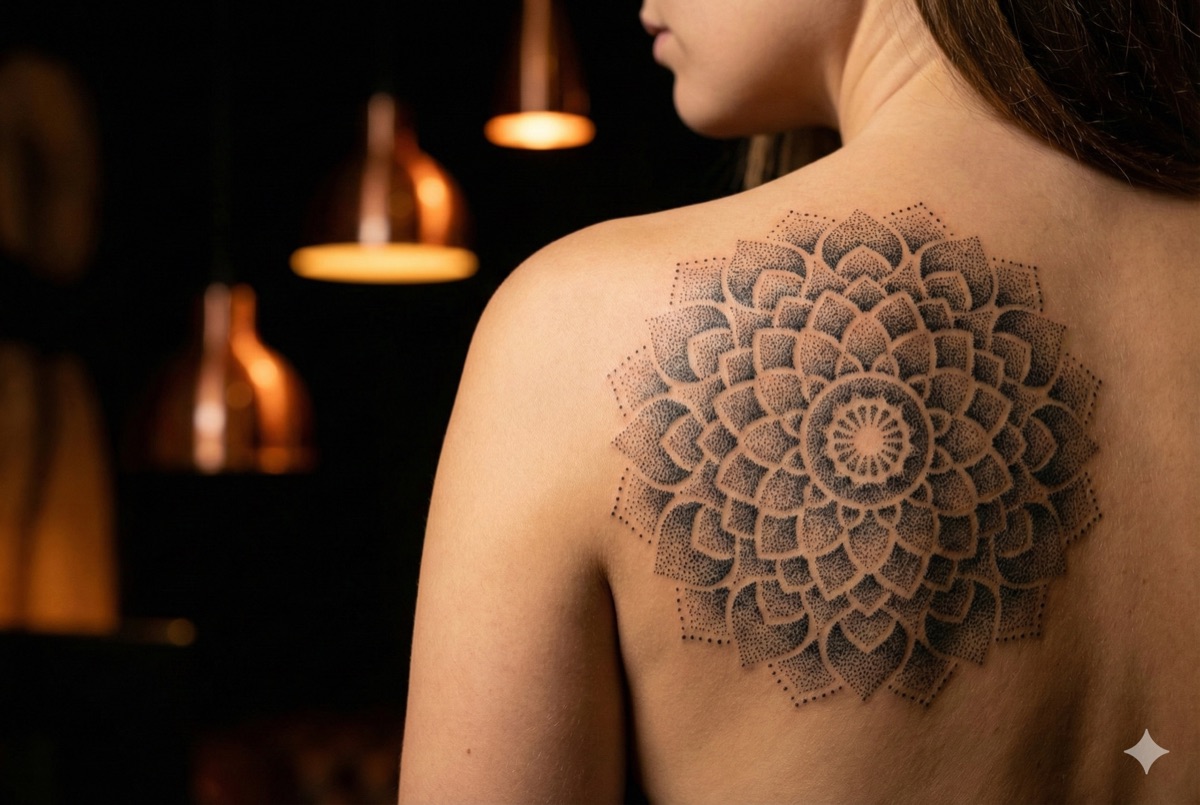
Dotwork has ancient roots in religious and tribal tattooing across cultures, from Buddhist temple tattoos to Polynesian patterns. Contemporary dotwork emerged as artists explored creating images entirely through carefully placed dots.
Visual characteristics: Images built from thousands of individual dots varying in density and spacing. Creates unique texture and depth impossible with line work. Often black/grey but can include color. Frequently features geometric and mandala designs.
Best placements: Larger areas showcase the technique best—shoulders, back, sleeves, thighs. The gradual tonal transitions need space to breathe. Avoid very small dotwork as it may blur together over time.
Ideal for: Those appreciating craftsmanship and patience (yours and the artist's—dotwork takes time). People wanting textural, meditative-looking pieces. The style suits those who find beauty in process and detail.
Realism
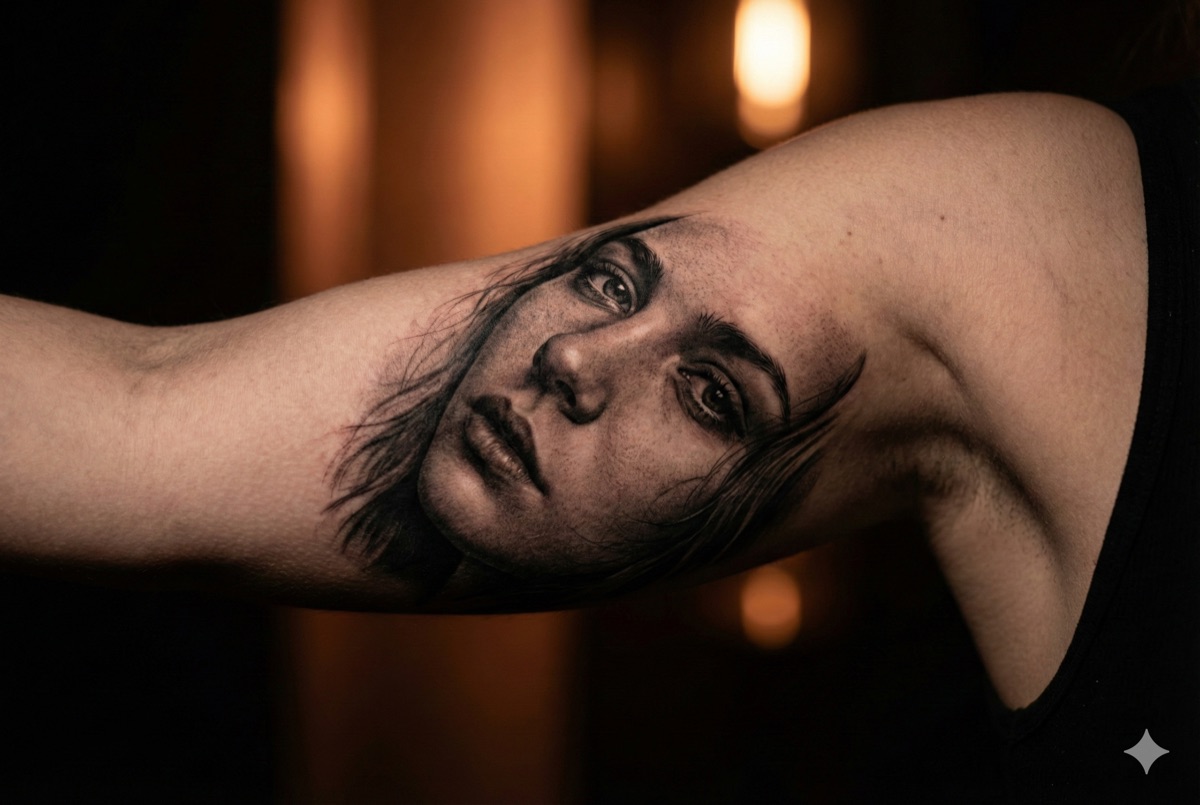
Realistic tattooing developed as tattoo technology improved, allowing artists to achieve effects impossible with traditional equipment. Portrait tattooing drove much of the style's evolution, with black-and-grey realism emerging from Los Angeles in the 1970s-80s.
Visual characteristics: Tattoos mimicking photographs or real life. Includes portraits, animals, nature scenes, and objects. Black-and-grey realism uses shading for depth; color realism adds lifelike hues. Requires masterful understanding of light, shadow, and skin as a medium.
Best placements: Larger areas with relatively flat skin—upper arms, thighs, back, chest. Realistic pieces need size to capture detail. Avoid areas with significant movement or texture.
Ideal for: Those wanting to memorialize people, pets, or specific images with accuracy. Requires extensive research to find truly skilled realism artists—this style shows artist ability (or lack thereof) immediately. Expect to pay premium prices for quality realism work.
Frequently Asked Questions
Which tattoo style lasts the longest?
American Traditional and Blackwork typically age best due to their bold lines and solid ink coverage. Fine line and watercolor styles may need touch-ups over time as delicate lines soften and colors fade. However, proper aftercare and sun protection significantly impact how any style ages.
Can I mix different tattoo styles?
Absolutely. Many people build collections featuring multiple styles. Some artists even specialize in hybrid approaches—geometric realism, illustrative watercolor, or neo-traditional dotwork. When mixing styles, consider overall flow and whether pieces will sit near each other.
How do I choose the right style for my idea?
Consider what matters most: Do you want bold visibility or subtle discretion? Timeless tradition or contemporary artistry? A single statement piece or the start of a larger collection? Your answers naturally point toward certain styles. When in doubt, explore multiple styles with the same concept to see what resonates.
Should I choose a style or artist first?
Both approaches work. If you're drawn to a specific style, find artists who specialize in it. If you connect with an artist's overall work, trust their guidance on style. The best tattoos often come from artists working within their strengths rather than forcing unfamiliar styles.
Find Your Style
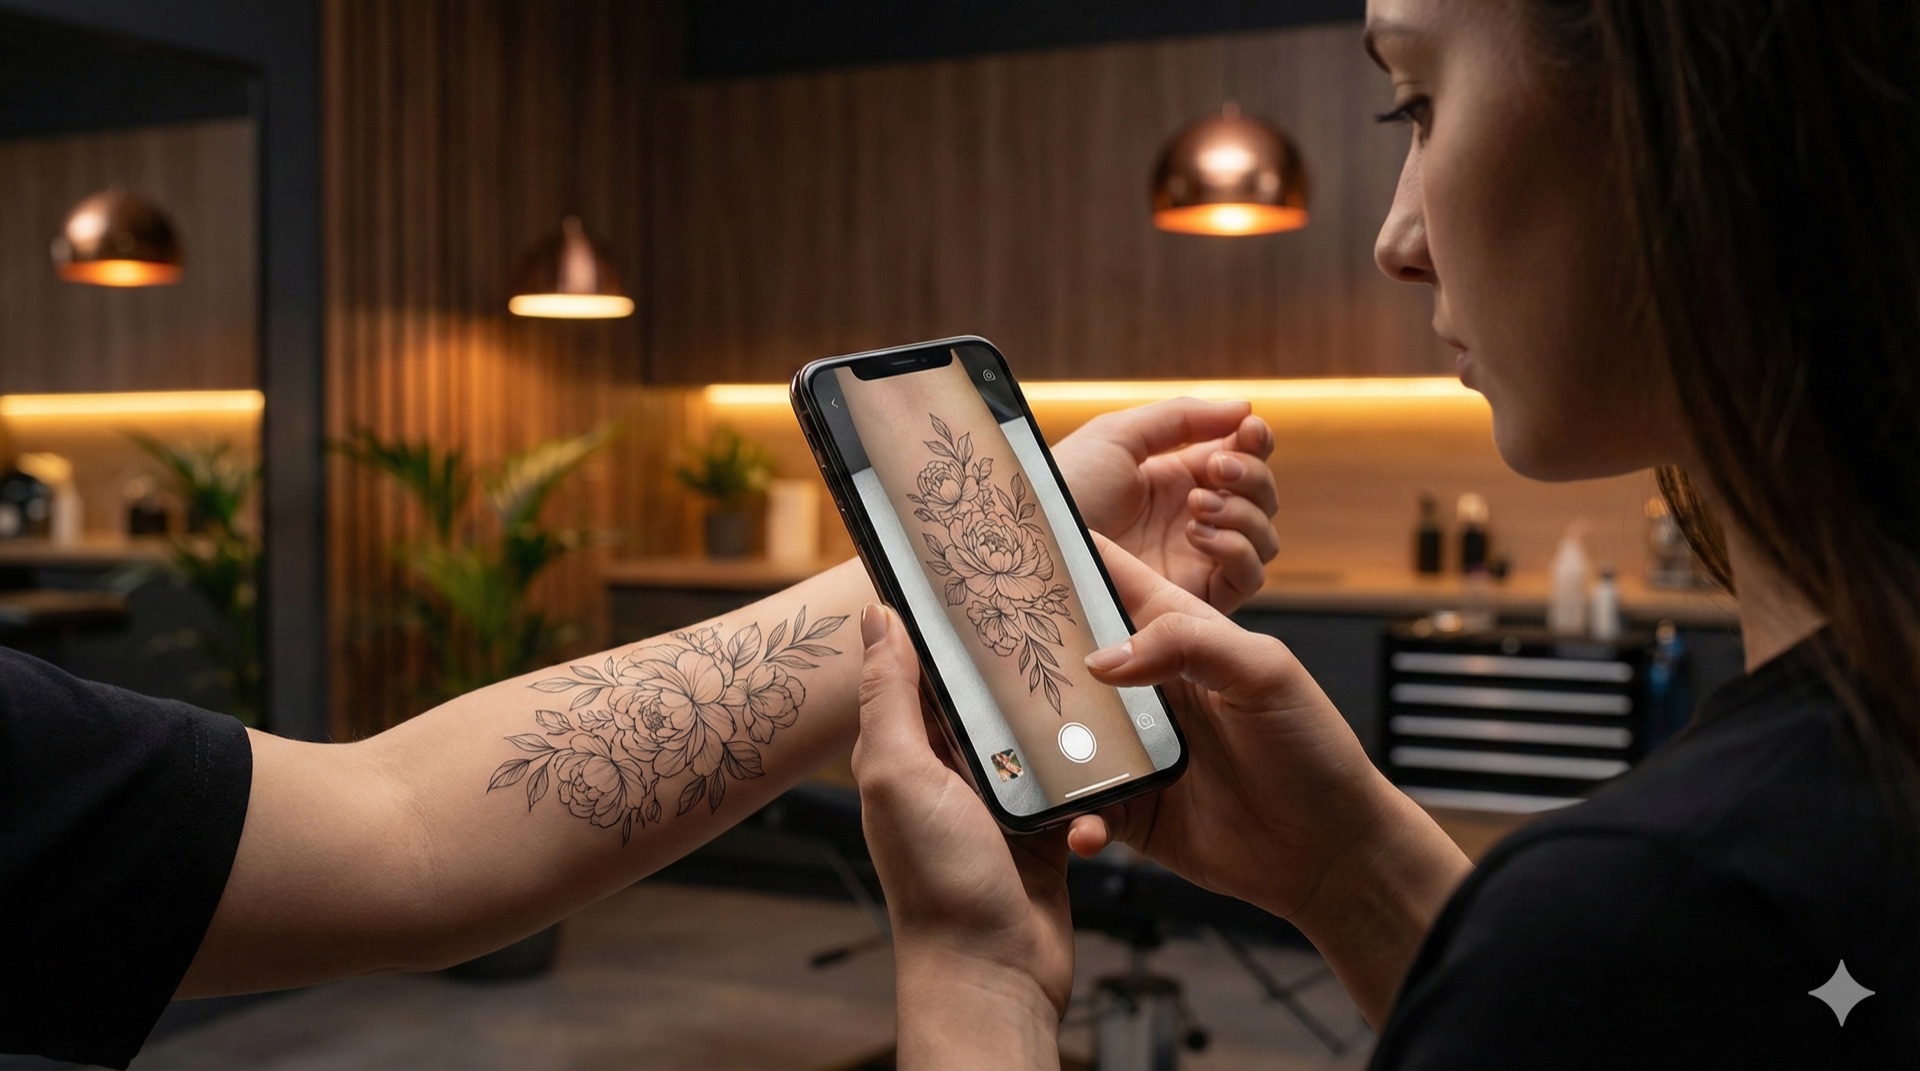
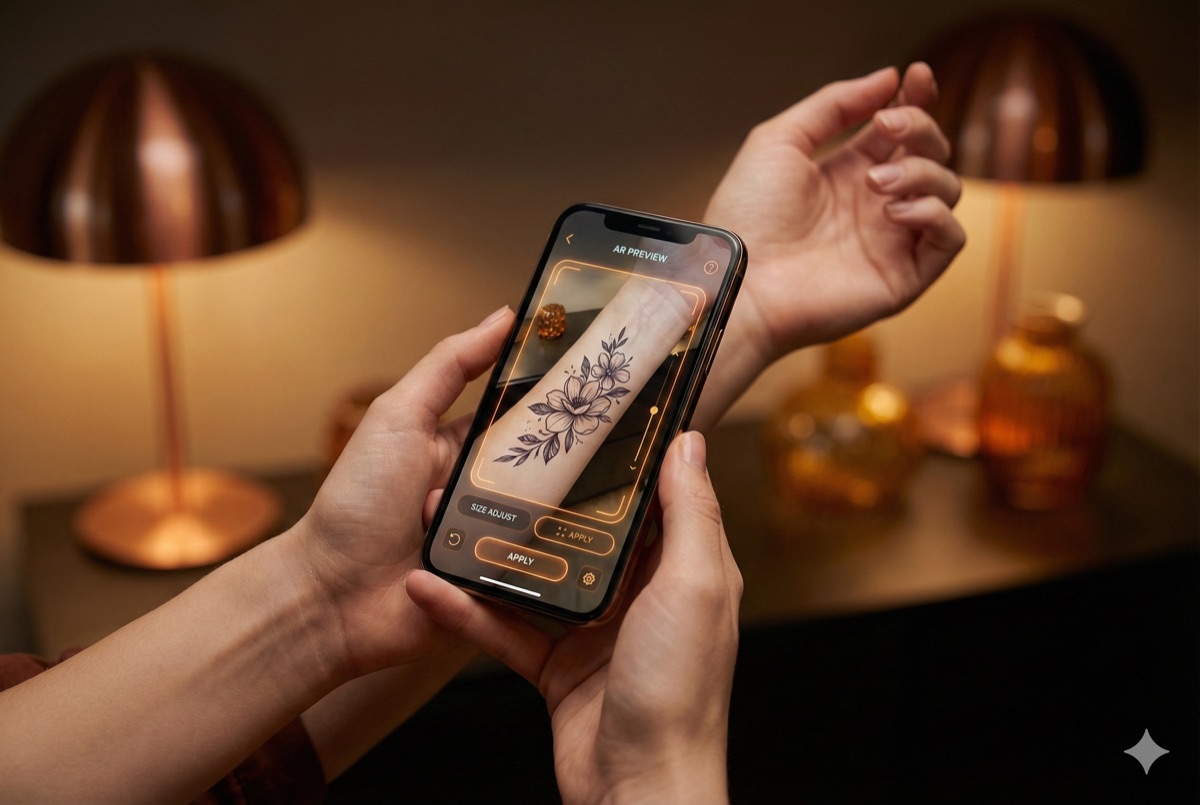
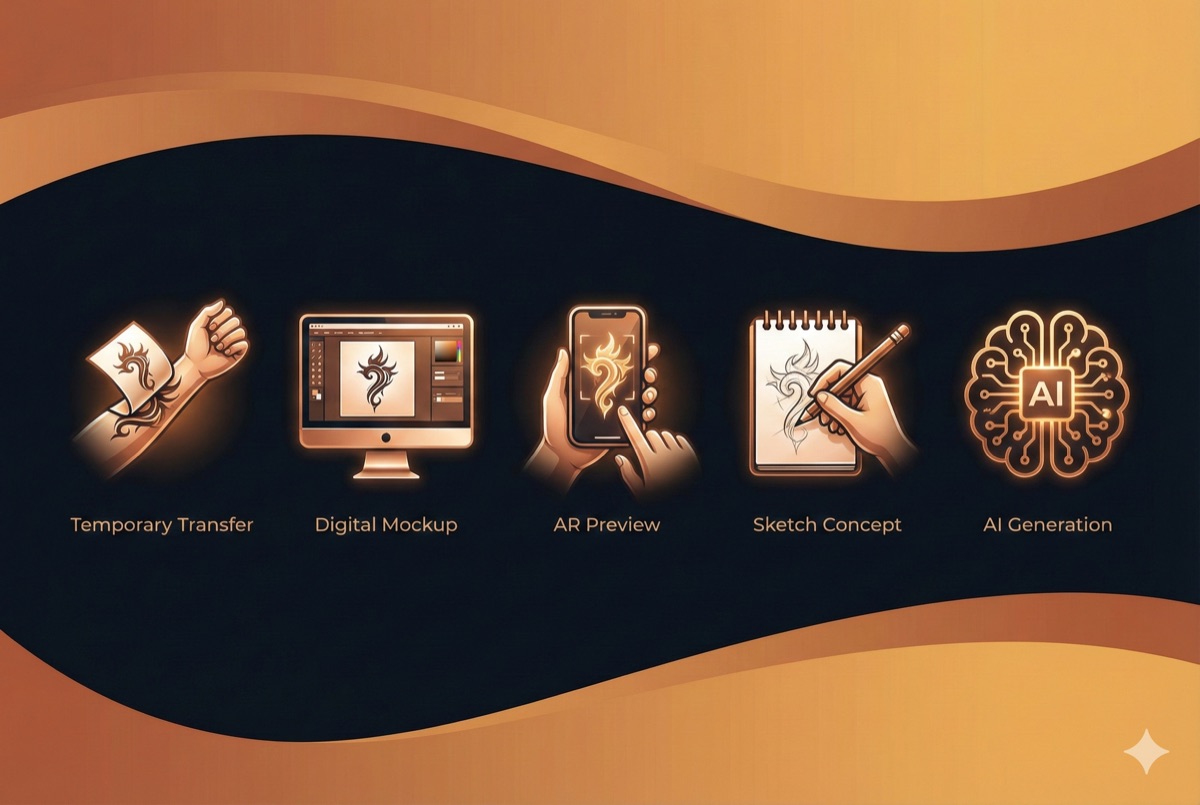
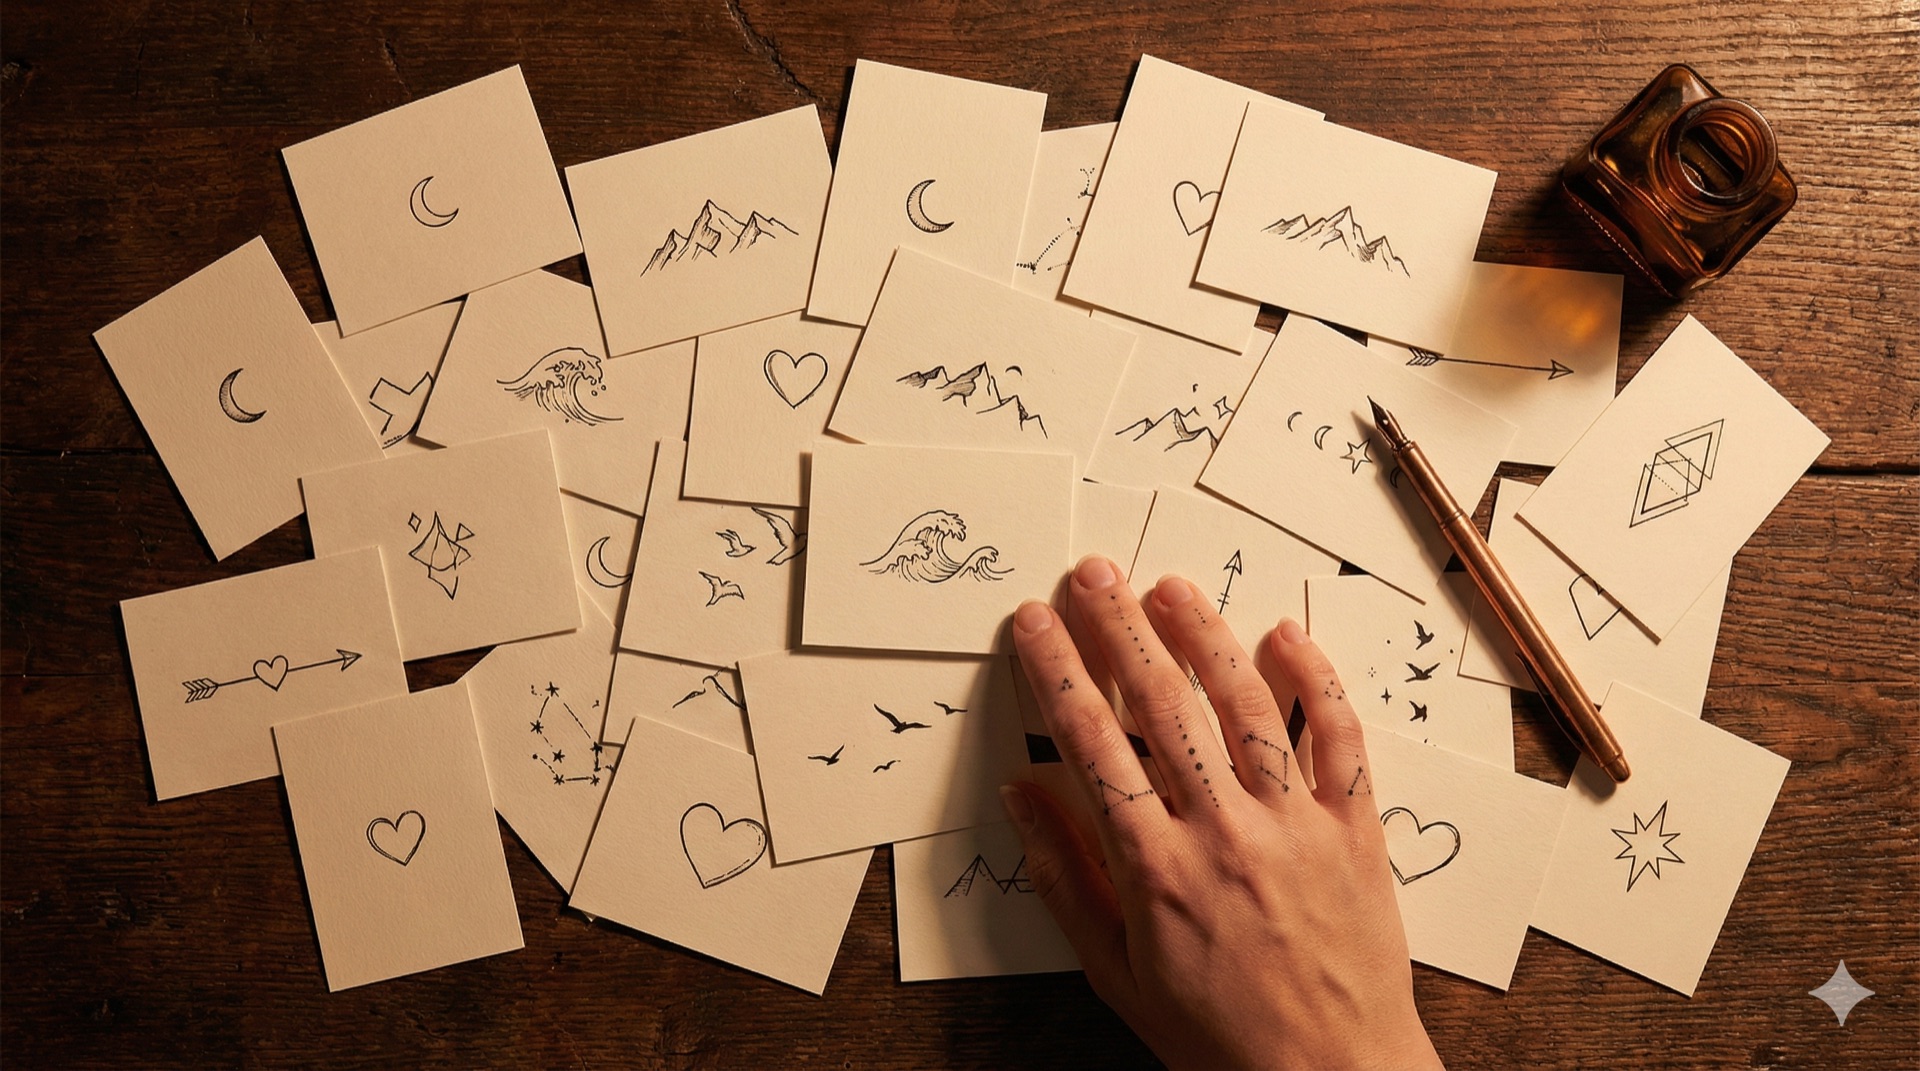
Not sure which style fits you? The best way to decide is to see your idea rendered in different approaches. Negink lets you generate AI tattoo designs in any style and preview them on your body before committing—try fine line, then blackwork, then watercolor with the same concept to discover what truly resonates.
Whichever style you choose, take your time, research artists carefully, and remember: the right tattoo is the one that feels right to you.
]]>